|

This
Tutorial is copyrighted to the Tutorial Writer, © Emmy Kruyswijk 2012.
This Tutorial
may
not be forwarded, shared or otherwise placed on any Web Site or group without written
permission from
Emmy Kruyswijk
At all Disney creations must be copyrighted.
Do you want to link my lessons?
Please send
me a mail.
Needing:
1 image 650x450, 1 mask, 1 tube 450 high, 2 lion
tubes, all made by me.
1 dingbat Zoologic, font, is by the materials.
Plug-ins: Filter Factory Gallery A, Funhouse, DC Special, Xero.
Download here
Before you begins.......
Minimize the font and dingbat.
Open the image, mask and tubes in PSP,
Put the plug-ins in the folder plug-ins.
Materials

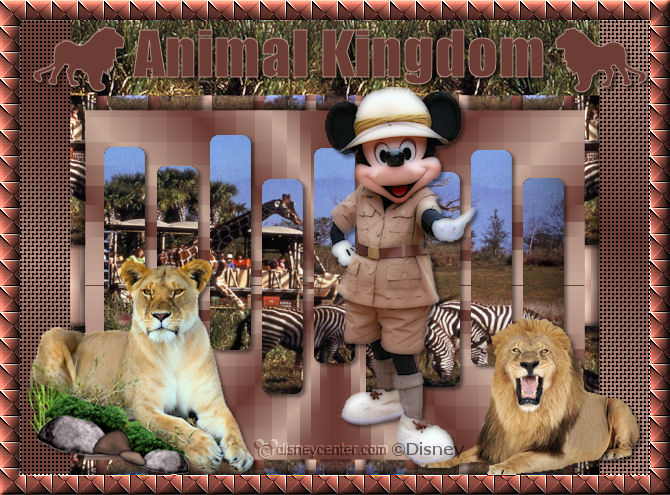
Animal Kingdom
1. Set in the material palette the foreground color on a light color
( #b9988a) and the background on a dark
color (#6c3d34).
2. Make from the foreground color a gradient linear – with this setting.
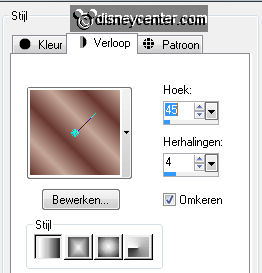
3. File – New - Open transparent image 500x350.
4. Activate the Flood Fill Tool – fill this layer with the gradient.
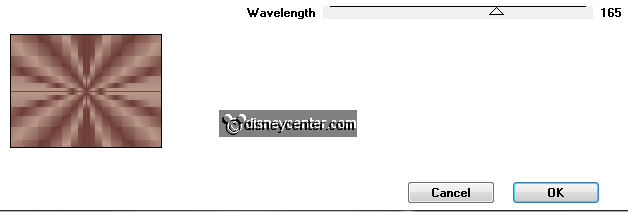
5. Effects – plug-ins – Funhouse – Emission Mirror – with this
setting - click OK.
6. Effects – Edge effects – enhance.
7. Layers – new raster layer.
8. Fill with the flood fill this layer with the background color.
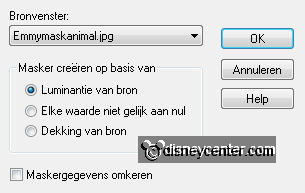
9. Layers – new mask layer – from image – with this setting - click OK.
10. Layers – merge – merge group.
11. Selections – select all.
12. Selections – float.
13. Selections – Defloat.
14. Selections – modify – remove specks and holes – with this setting - click OK.
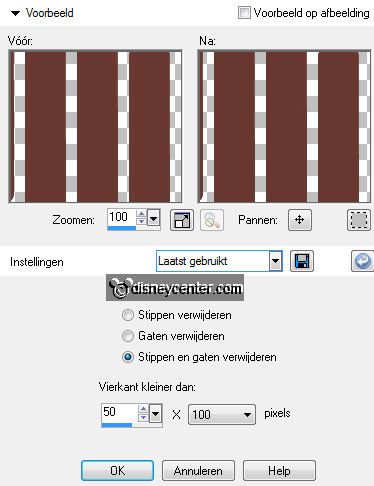
15. Activate the image Animal Kingdom – edit – copy.
16. Layers - new raster layer.
17. Edit – paste into selection.
18. Selections – select none.
19. Effects – 3D Effects – drop shadow – with this setting.
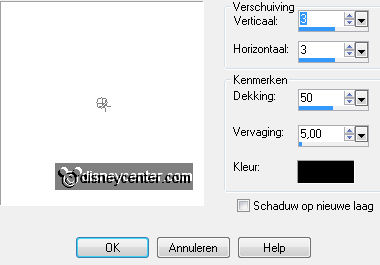
20. Image – add border – symmetric – 15 pixels – background color.
21. Activate the magic wand – with this setting - select the border.

22. Effects – plug-ins – DC Special – PerssianRug – with this setting -
click OK.

23. Effects – 3D Effects – Inner Bevel – with this setting.
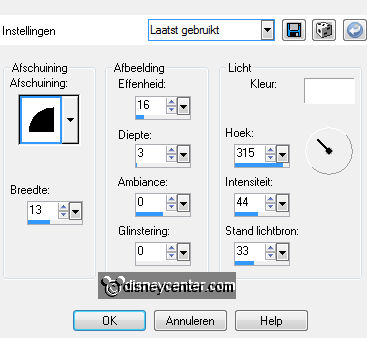
24. Selections - select none.
25. Image – add border – symmetric not checked – with this setting - background
color.
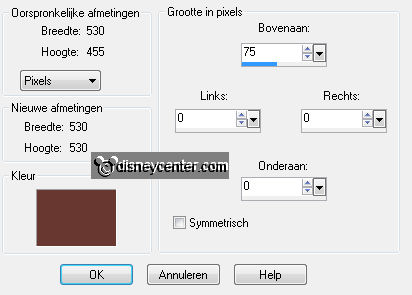
26. Activate the magic wand – settings are right – select the border.
27. Activate the clone brush – clone – with this setting.


28. Activate the image Animal Kingdom – click with the right mouse button in
this part
– see below.
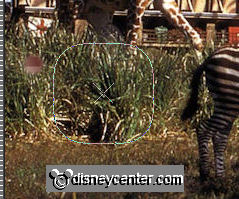
29. Activate the image – click with the left mouse button in the selection. Do
every time small pieces.
30. Repeat point 28 and 29 till the whole border is filled.
31. Selections – select none.
32. Image – add border - symmetric not checked – with this setting- background
color.
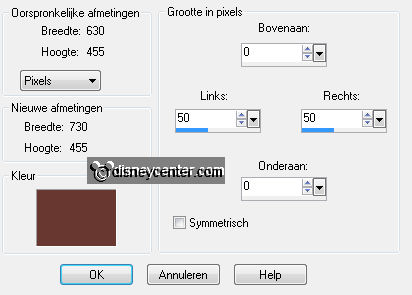
33. Activate the magic wand – settings are right – select the borders.
34. Activate flood fill tool – fill the selection with gradient – settings are
right.
35. Effects – texture effects – weave – with this setting.
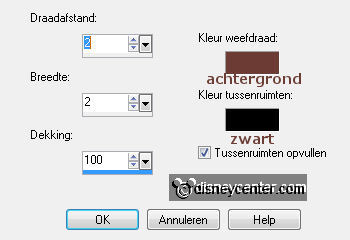
36. Selections – select none.
37. Set in the material palette the foreground gradient back to foreground color.
38. Activate text tool – with this setting .

39. Click with the mouse in the middle of the green border and write Animal Kingdom.
40. Objects – Distribute –space evenly horz.
41. Layers – convert to raster layer.
42. Activate again text tool (dingbat) – now with this setting.

43. Use the capital L – convert to raster layer.
44. Activate move tool and move the dingbat left at the top – see example.
45. Layers – duplicate.
46. Image – mirror.
47. Layers – merge – merge down. And one more time.
48. Effects – 3D Effects – drop shadow – settings are right.
49. Activate the tube (micsafari) – edit – copy.
50. Edit – paste as a new layer on the image.
51. Image – resize – 85% - all layers not checked.
52. Image - mirror.
53. Effects – Image effects – offset – with this setting.
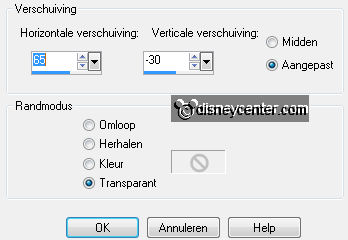
54. Effects – 3D Effects – drop shadow – settings are right.
55. Effects – plug-ins – Xero – Porcelain – with this setting - click OK.
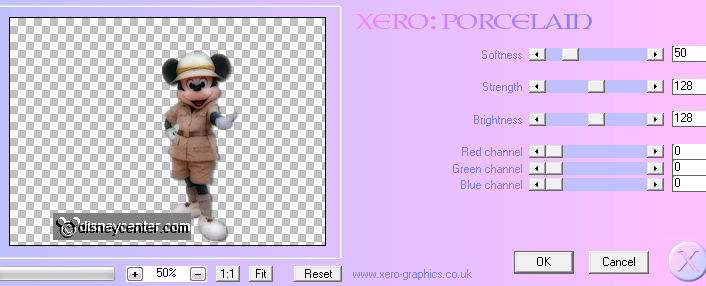
56. Activate the tube leeuw1 – edit – copy.
57. Edit – paste as a new layer on the image.
58. Effects – Image effects – offset – with this setting.
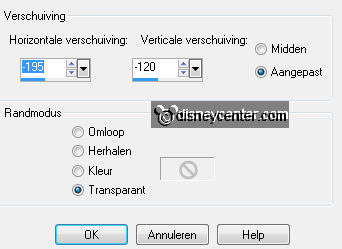
59. Effects – 3D Effects – drop shadow – settings are right.
60. Activate tube leeuw2 – edit – copy.
61. Edit – paste as a new layer on the image.
62. Effects – Image effects – offset – with this setting.
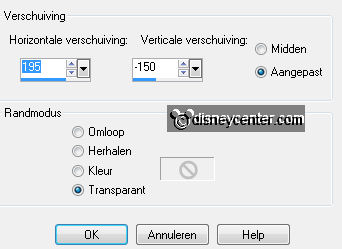
63. Effects – 3D Effects – drop shadow – settings are right.
64. Layers – new raster layer.
65. Put your watermark into the image.
66. Layers – merge – merge all layers.
67. Image – add border – symmetric – 20 pixels – background color.
68. Activate the magic wand – settings are right - select the border.
69. Effects – plug-ins - Filter Factory Gallery A – Holidays in Egypt – with
this setting - click OK.

70. Effects - Edge effects - enhance.
71. Effects – 3D Effects – Inner Bevel – settings are right.
72. Repeat the Inner Bevel - settings are right.
73.
Selections - select none.
74. File – export – JPEG Optimizer.
Ready is the tag
I hope you like this tutorial.
greetings Emmy
Tested by Cobie.

Tutorial written
13-04-2012
|