Foreground color #647140 and background color #b39067
1.
Open new transparent image 600x500.
Fill this with the foreground color.
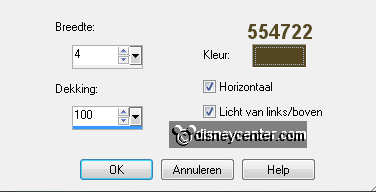
Effects - Texture effects - Blinds - with this setting.
2.
Copy misted herfst and paste as a new layer on the image.
Duplicate this layer - set the Blend mode at multiply.
Set the opacity of this layer at 65.
Layers - merge - merge down.
3.
Copy hert and paste as a new layer on the image.
Duplicate this layer - set the Blend mode at multiply.
Layers - merge - merge down.
Place this left - 100 pixels from the bottom.
4.
Open GoldOfFall and copy tubed and paste as a new layer on the
image.
Image - resize 35% - all layers not checked.
Place this at the bottom right.
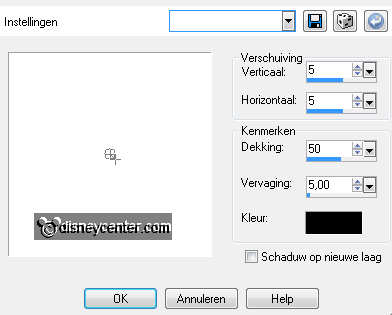
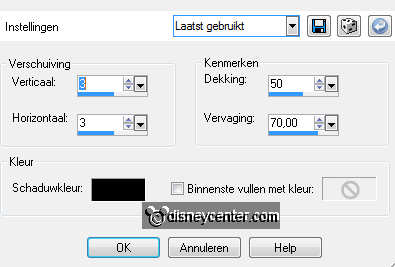
Effects - 3D Effects - drop shadow - with this setting.
5.
Copy 76 and paste as a new layer on the image.
Image - resize 50% - all layers not checked.
Give the same drop shadow as in point 4.
6.
Copy boomstronk and paste as a new layer on the image.
Image - resize 50% - 1 time with 75% - all layers not checked.
Give the same drop shadow as in point 4.
Place this by the GoldofFall - Layers - arrange - move down (below
raster 4)
7.
Copy Bambi 30 and paste as a new layer on the image.
Image - resize 75% - all layers not checked.
Image - mirror.
Place this at the right side. Layers - arrange - move down 2 times.
Give the same drop shadow as in point 4.
8.
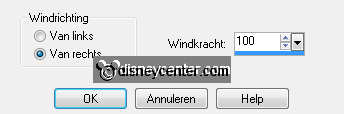
Duplicate this layer - Effects - Distortion Effects - wind -
with this setting.
Layers - arrange - move down.
Set the opacity of this layer at 75.
9.
Copy cluster and paste as a new layer on the image.
Place this left at the bottom.
Give the same drop shadow as in point 4.
Move a little with the tubes , so it looks as 1 tube
10.
Layers - merge - merge all layers.
Image - add border 1 - symmetric NOT checked -
background color - see below.
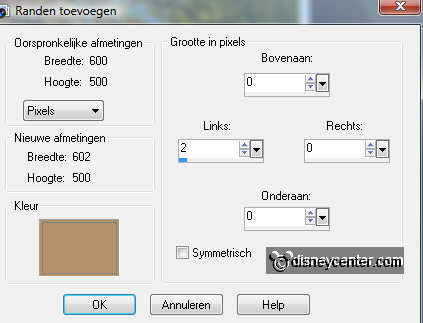
Image - add border 100 - symmetric NOT checked -
foreground color.
Image - add border 2 - symmetric checked - background color.
11.
Select the green border with the magic wand - with this setting.

Effects - 3D Effects - cutout - with this setting.
Repeat cutout, but now with -3.
12.
Go to text tool - select a font - size 72 -
turn the colors.


Write Autumn - see example - convert to raster layer
Give the same drop shadow as in point 4.
Place this at the green border.
13.
Copy blaadjes and paste as a new layer on the image.
Place this at the top left in the corner.
Give the same drop shadow as in point 4.
14.
New raster layer - put your watermark into the image.
Layers - merge - merge all.
File - export - JPEG optimizer.
Ready is the tag
I hope you like this tutorial.
greetings Emmy,
Tested by Bep
Tutorial written
30-10-2011