Set in your layer
palette the foreground color at #c18501 and the background color at
#083787
1.
File - open new transparent image 700x500.
Activate the Flood Fill tool - fill this with the foreground color.
New raster layer - fill this with the background color.
2.
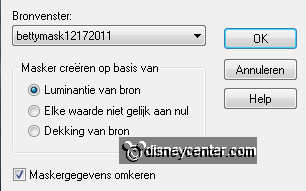
Layers - new mask layer - From image - look Bettymask12172011 -
with this setting.
Layers - merge - merge group.
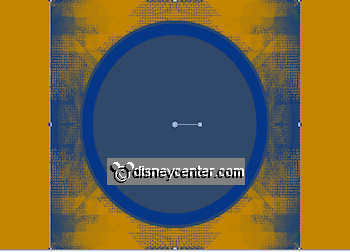
Activate selection tool and move 100 pixels at each side inwards -
see below.
Set selection tool back to move tool.
3.
Open LaPays deC - edit - copy - edit - paste as a new layer on
the image.
Layers - arrange - move down.
4.
Stay at this layer - activate eraser tool - size at 30.
Erase all around the circle.
Effects - Edge Effects - enhance more.
5.
Make the top layer active.
Activate the magic wand - select the outside borders.
6.
NO new layer, otherwise you don't see the effect.
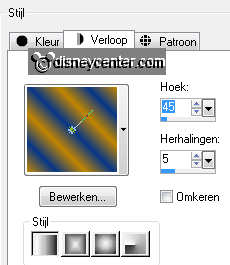
Fill this with gradient - linear - with this setting.
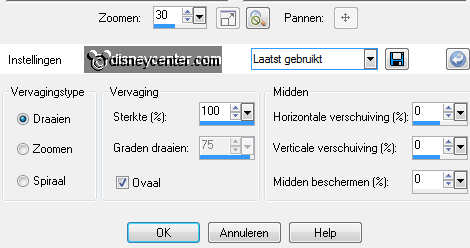
Adjust - blur - radial blur - with this setting.
Effects - Edge Effects - enhance more.
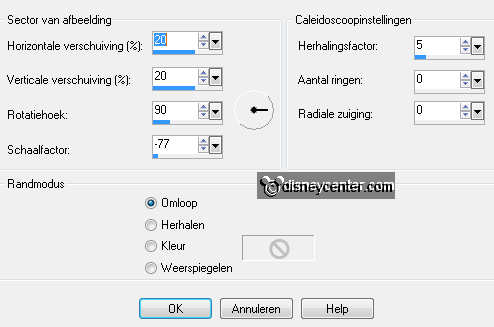
Effects - Reflection-Effects - Kaleidoscope - with this setting.
7.
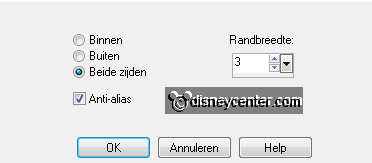
Selections - modify - select selection
borders - with this setting.
New raster layer - fill this with the background color.
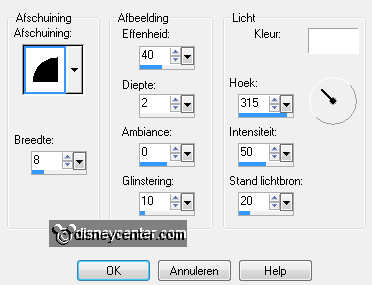
Effects - 3D Effects - Inner Bevel - with this setting.
Selections - select none.
8.
Open Belle - edit - copy - edit - paste as a new layer on the image.
Image - mirror.
Effects - 3D Effects - drop shadow - with this setting.

Activate move tool - place the tube left at the bottom.
9.
Open beast1 - edit - copy - edit - paste as a new layer on the
image.
Image - mirror.
Effects - 3D Effects - drop shadow - setting stays good.
Place this right at the bottom.
10.
New raster layer - fill this with the background color.
Selections - modify - selections
- contract 2.
Click at the delete key.
Selections - select none.
11.
Open word-art Beauty - edit - copy - edit - paste as a new layer
on the image.
Place this in the middle at the top - see example.
New raster layer - set your name or watermark into the image.
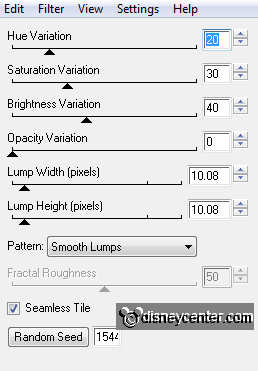
12.
Make raster 2 active.
Effects - plug-ins - Eye Candy 4000 - HSB Noise - with this setting.
Edit - copy merged.
Open Animation Shop - edit - paste as a new animation.
13.
Back in PSP - click at Undo last command.
Repeat Eye Candy - HSB Noise - click only at Random Seed.
Edit - copy merged.
In AS - edit - paste after active frame.
14.
Back in PSP - click at Undo last command.
Repeat Eye Candy - HSB Noise - click only at Random Seed.
Edit - copy merged.
15.
In AS - edit - paste after active frame.
File - save as - give name - click 3 times at next and than at
finish.