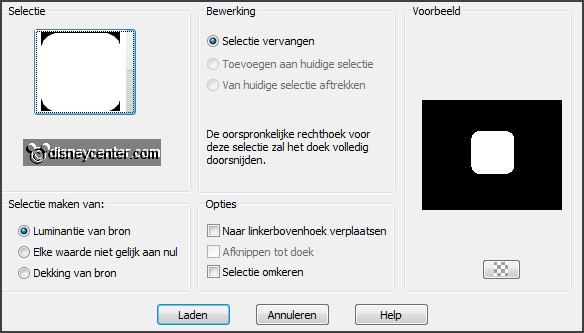
6.
Selections -
load/save selection - load selection from disk - look
Emmychrtree1 -
with this setting.
Layers - new raster layer.
Set in
the material palette the background
color at #6d8464.
Fill the selection
with the background color.
Selections
- select none.
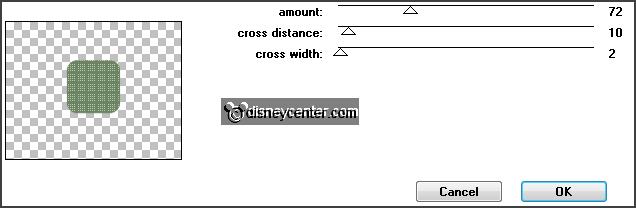
Effects -
plug-ins - Penta.com - Dot and Cross
- with
this setting -
click OK.
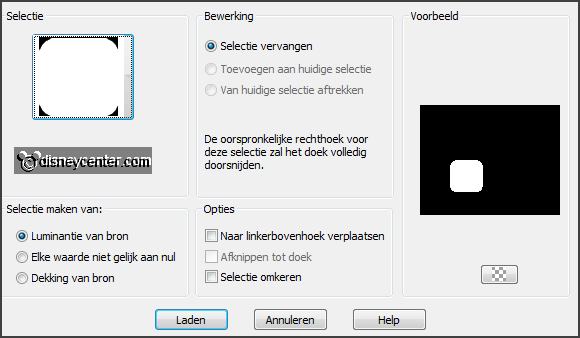
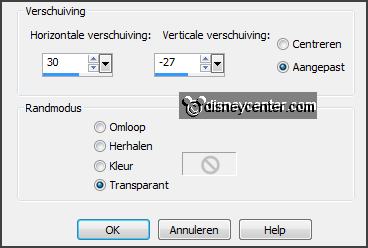
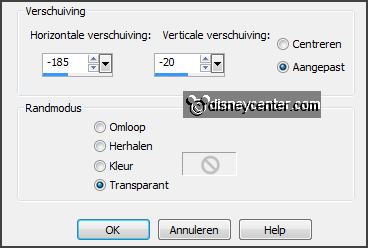
7.
Selections -
load/save selection - load selection from disk - look
Emmychrtree2 -
with this setting.
Layers - new raster layer.
Set in
the material palette the foreground
on gradient linear - setting is right - the background to #c0c0c0.
Fill the selection
with the gradient linear.
Selections
- select none.
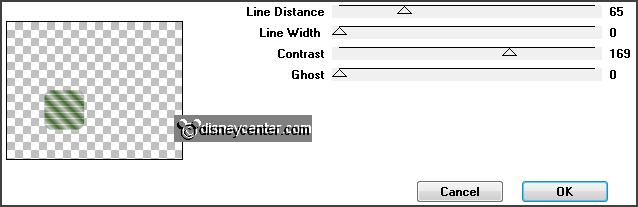
8.
Effects -
plug-ins - Penta.com - VTR2 -
with this
setting - click OK.
Layers - merge - merge down and 1
more time.
Effects - Image effects - seamless tiling - default setting.
Image - resize 75% - all layers not checked.
Effects -
Image effects - seamless tiling - default setting.
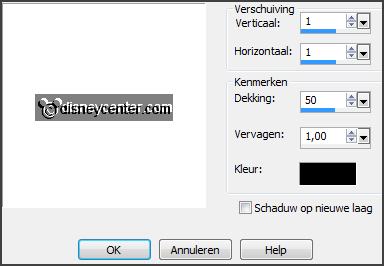
Effects - 3D Effects - drop shadow -
with this setting.
Effects -
plug-ins - FM Tile Tools - Blend Emboss -
setting is right
- click Apply.
Layers - merge - merge down.
9.
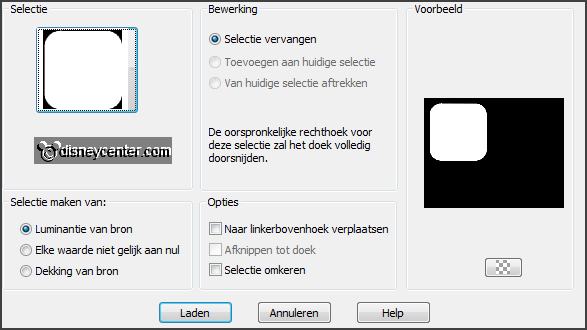
Selections -
load/save selection - load selection from disk - look
Emmychrtree -
with this setting.
Layers - new raster layer.
Fill the selection
with the background color #6d8464.
Layers - new raster layer.
Set the foreground back to color.
Fill the selection
with the foreground color.
Selections - modify - contract 7 pixels - click at the delete key.
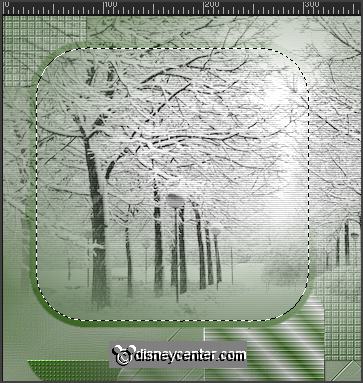
10.
Activate the tube christmas4 - edit - copy.
Edit - paste as a new layer on the image.
Activate move tool - move the tube left to the top - see below.
Selections - invert - click at the delete key.
Selections
- select none.
Set the blend mode of this layer to soft light.
Layers - arrange - move down.
Layers - merge - merge down.
11.
Activate the top layer.
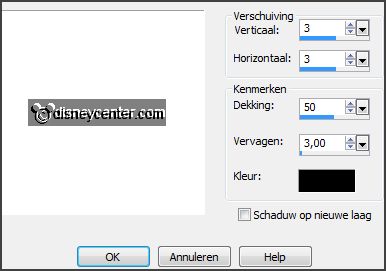
Effects - 3D Effects -
drop shadow -
with this setting.
Layers - merge - merge down.
Effects - Image effects - offset -
with this setting.
Layers -
duplicate.
Image -
mirror.
Layers - merge - merge down.
12.
Activate the tube kerst-cluster1 -
edit - copy.
Edit - paste as a new layer on the image.
Place this right at the bottom of the rounded square - see example.
13.
Activate the tube duffykerst2 -
edit - copy.
Edit - paste as a new layer on the image.
Effects - 3D Effects -
drop shadow -
setting is right.
Move the tube to the right - see example.
14.
Activate the tube White_Christma_MoleminaScrap_ele(121) -
edit - copy.
Edit - paste as a new layer on the image.
Effects -
Image effects - offset -
with this setting.
Layers -
duplicate.
15.
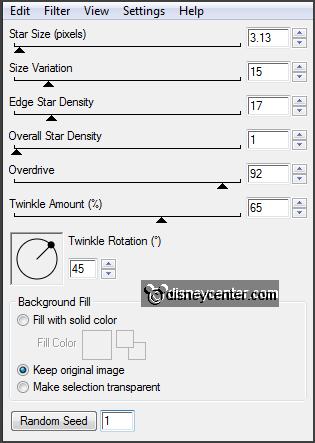
Activate raster 5.
Effects -
plug-ins - Xenoflex 2 -
Constellation -
with this setting -
click OK.
Activate eraser tool - size 10 - and erase the
dots next the tree at both sides - see below.
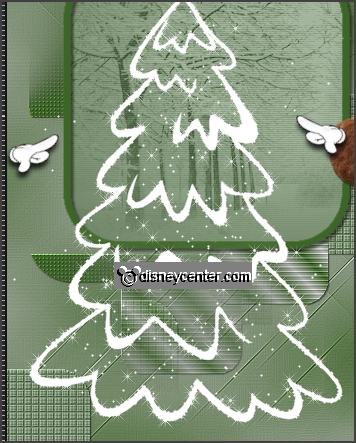
16.
Activate copy of raster 5.
Effects -
plug-ins - Xenoflex 2 - Constellation -
click at Random Seed - click OK.
Erase here also the dots.
Lock this layer.
17.
Activate word-art -
edit - copy.
Edit - paste as a new layer on the image.
Place this left at the top.
Layers - new raster layer -
put your watermark into the image.
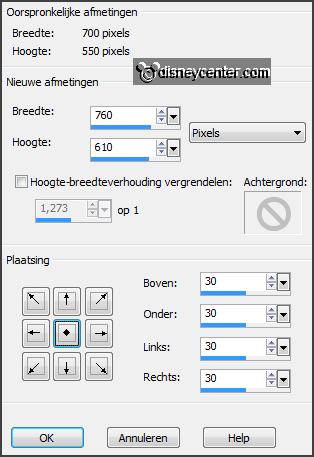
18.
Activate the bottom layer.
Image - canvas size -
with this setting.
Select with the magic wand -
with setting
below - the transparent border.

19.
Layers - new raster layer.
Set the foreground at gradient linear - setting is right - and the background at #c0c0c0.
Fill the selection with the gradient.
Selections
- select none.
20.
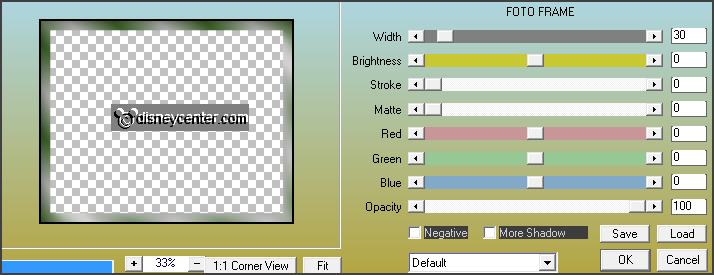
Effects -
plug-ins - AAA Frames - Foto Frame -
with this setting -
click
OK.
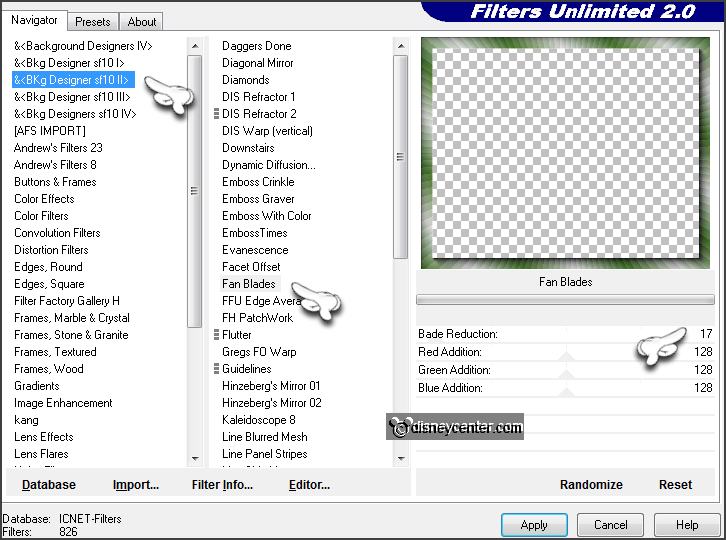
Effects -
plug-ins - I.C.NET Software -
Filters Unlimited 2.0 - &BkgDesigners sf10 II> - Fan Blades -
with this setting -
click Apply.
Effects -
plug-ins - FM Tile Tools - Blend Emboss -
setting is right
- click Apply.
Image - resize 90% - all layers checked.
21.
Activate the bottom layer.
Edit - copy merged.
Open Animation Shop - paste as a new animation.
22.
Back in PSP.
Lock raster 5 and open copy of raster 5.
Edit - copy merged.
In AS - paste after active frame.
23.
File - save as - give name - click 3 times at next and than at finish.
Ready is the tag
I hope you like this tutorial.
greetings Emmy
Tested by Nelly