4.
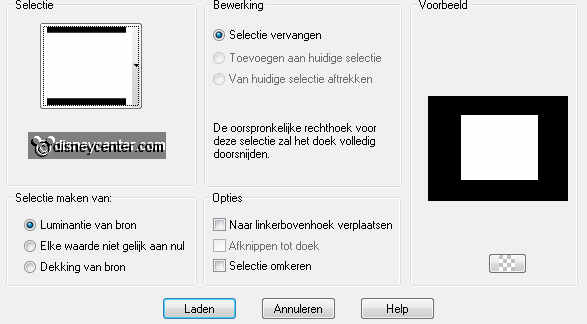
Selections – load/save selection – load selection from disk –look
Emmyflowers – with this setting.
Layers – new raster layer.
5.
Set in the material palette the foreground gradient back at
foreground color.
Fill with the flood fill the selection with the foreground
color.
Selections – select none.
6.
Layers – merge – merge down.
Effects – Geometrics Effects – Perspective horizontal – with
this setting.
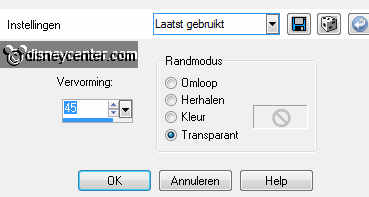
Set in the layer palette the opacity of this layer 50.on
7.
Layers – duplicate.
Image – mirror.
Layers – merge – merge down.
8.
Layers – new raster layer.
Fill with the flood fill this layer with the background color.
Layers – arrange – move down.
Layers – merge – merge down.
9.
Effects – Image effects – seamless tiling – default setting..
Layers – duplicate.
Image – resize 65% - all layers not checked.
10.
Effects – 3D Effects – drop shadow – with this setting.
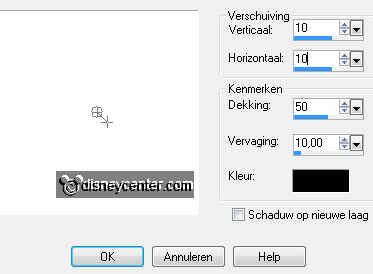
Repeat the drop shadow – vert. and horz. at -10.
11.
Activate flowerstekst – edit – copy.
Edit – paste as a new layer on the image.
12.
Activate the tube microod – edit – copy.
Edit – paste as a new layer on the image.
Set with the move tool the tube to right – see example.
Effects – 3D Effects – drop shadow – with this setting.

13.
Activate word-art-flowers – edit – copy.
Edit – paste as a new layer on the image.
Set with the move tool the tube – left at the top.
14.
Activate tube MTM Bloemen 132 - edit - copy
Edit – paste as a new layer on the image.
Set with the move tool the tube – left at the bottom
15.
Image – add border – symmetric – 2 pixel –
background color.
Image – add border – symmetric – 35 pixels –
foreground color.
Activate the magic wand – with this setting – and select the border.

16.
Set in the material palette the foreground color back at foreground
gradient.
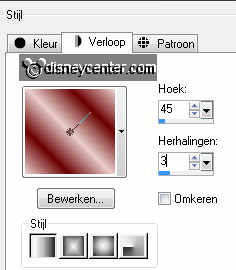
Fill with the flood fill the selection with the gradient linear –
with this setting.
Effects - plug-ins - Alien Skin Eye Candy 5 Texture –
Swirl – click on settings – user setting – Emmyflowers – click OK.
Effects – 3D Effects – Inner Bevel –with this setting.
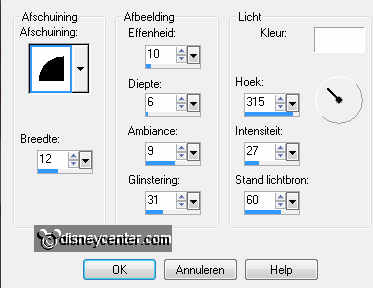
Selections – select none.
17.
Layers – new raster layer – set your watermark into the image.
Image – add border – symmetric – 2 pixel –
background color.
File – export – JPEG Optimizer.