Before you begins.......
Filters : Install first your plug-ins before you open PSP and put
them in the folder plug-ins.
And the Mask in the folder Mask..
Open your tubes in PSP
The Photographer - Don't make
Pictures
foreground color #b9d3c8 and background color #2d2d1b.
1.
Open new transparent image 700x700.
Fill with the background color.
New Raster Layer - fill with the foreground color.
2.
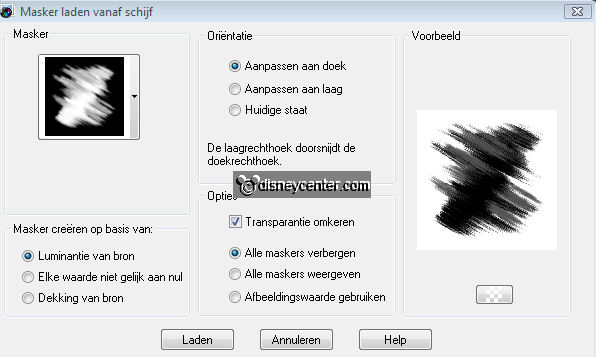
Layers - load / save mask - load mask from disk.
Find 1MSK with this setting.
Layers - merge - merge group.
3.
Layers - merge - merge down.
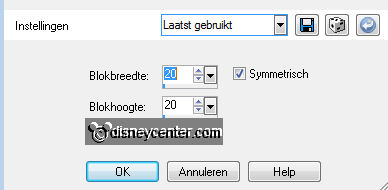
Effects - Distortion Effects - Pixelate with this setting.
Effects - Edge Effects - Enhance.
4.
Copy krans and paste as new layer.
Place it in the top right corner - 50 pixels from the side and top.
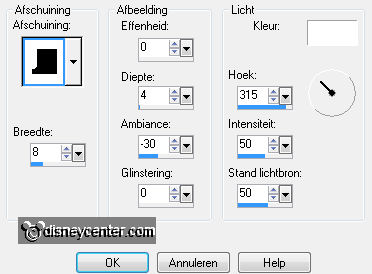
Effects -3D Effects - Drop Shadow with these settings.

5.
Go to tool selection - selection - circle
Draw a circle on the wreath (krans). see below.

New layer - Set the background color # 5c6555.
Fill this with gradient radial with this setting.

6.
Adjust - Blur - Gaussian Blur - radius 15.
Effects - Distortion Effects - Pixelate with this setting.

Effects - Edge Effects - Enhance.
Layers - arrange - move down.
Selections - select none.
7.
Copy Rand2 and paste as new layer.
Place it in the top right.
Give the same drop shadow as in step 4.
8.
Activate the tube
donaldknabbelenbabbel - go to tool
selection.
Selection - free hand selection - and make a selection around
Donald.

Cut - and paste as new image - if needed - Work a little bit.
Back to the tube - selections - select none.
Now we do the same with Chip. see below.

Cut - and paste as new image.
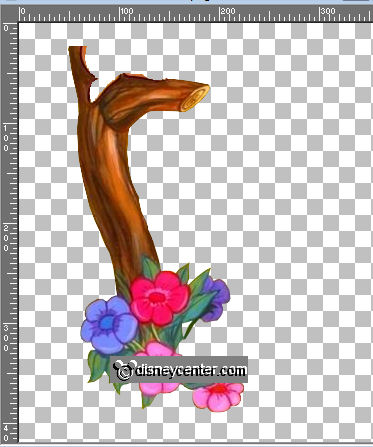
Now again with the branch.

Cut - and paste as a new image.
9.
Open a new transparent image 360x700.
Copy the half-tree of the tube (see below) and paste as new layer.
Now copy and paste the branch as a new layer. (1)
Now copy and paste the branch as a new layer - image - free rotate -
right 30. (2)
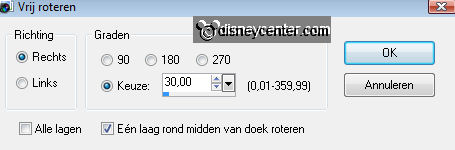
Now copy and paste the branch as a new layer - image - free rotate -
right 55 (3)
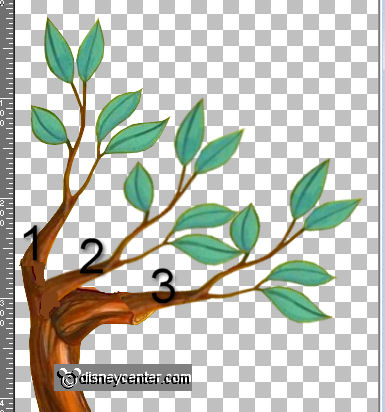
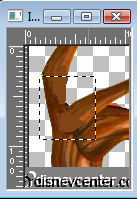
Set the foreground color to # 824519 and place your Paint Brush at 5
and make the tree trunk off. Fig
Layers - merge - merge all visible layers.
10.
Now copy and paste the tree as a new layer.
Place left - Image - resize 110% - all layers unchecked.
Give the same drop shadow as in step 4.
11.
Copy Donald and paste as new layer.
Image - resize 75% - all layers unchecked.
Place it on the right side.
Give the same drop shadow as in step 4.
12.
Copy sign and paste as new layer.
Image - free rotate - 10 links.
Place them on the wreath on the right - see below.
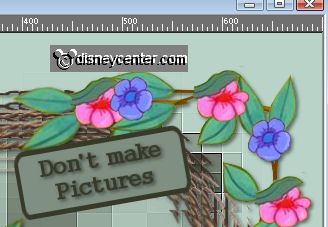
Layers - arrange - move down - below the flower border.
Give the same drop shadow as in step 4.
Copy speld and paste as new layer - Place it on the sign.
13.
Copy White Bunny and paste as new layer.
Image - resize 75% - all layers unchecked.
Place at the bottom left - next to the flowers.
Give the same drop shadow as in step 4.
14.
Layers - Merge - Merge all layers.
Image - add border 1 - background color.
Image - add border 10 - foreground color.
Select the border - Effects - Graphics Plus - Cross Shadow - default
setting.
Effects - inner bevel with these settings.
Selections - select none.
Image - add border 1- background color.
15.
Copy Chip and paste as new layer.
Place them on the tree (about where it was),
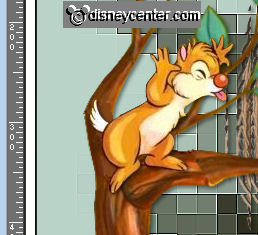
Give the same drop shadow as in step 4.
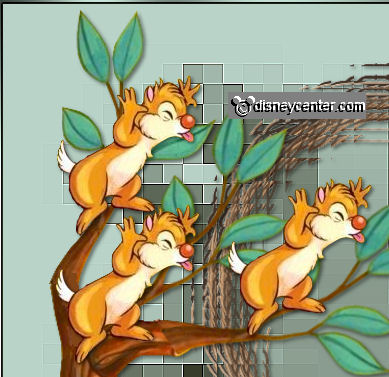
Duplicate this layer 2 times.
One insert on the bottom branch - and one on the top branch.
16.
Activate the bottom layer - close the two upper layers.
Edit - copy - copy merged.
Open Animation Shop - paste as new animation.
17.
Back in PSP - close raster 1 and open a copy of raster 1.
Edit - copy - copy merged.
Back in animation shop - paste after current frame - make sure the
last frame is selected.
18.
Back in PSP - close copy of raster 1 and an open raster 1.
Edit - copy - copy merged.
Back in animation shop - paste after current frame.
19.
Back in PSP - close raster 1 and then copy (2) of Raster 1.
Edit - copy - copy merged.
Back in animation shop - paste after current frame.
20.
In Animation Shop - Animation - Frame Properties - set frame 1 and 3
at 150 - frames 2 and 4 at 100.
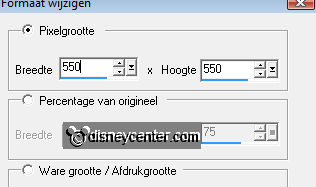
Animation - Resize Animation 550x550.
File - Save As - give name - click Next 3 times and then finish.
Ready is the tag
I hope you like this tutorial.
greetings Emmy,