Scrapkit from
Poppyshares, tube Halloween06-Cin from Cintje.
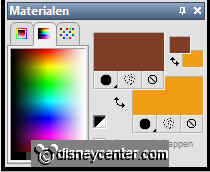
foreground color #cbb18b background color #f19c16, color of the font #7d3e25, Font Fancypants.
1. Open a new image 800x800
2. Flood fill this with the foreground color.
3. Copy the halwpaper2 and paste as a new layer. Standing
properly.
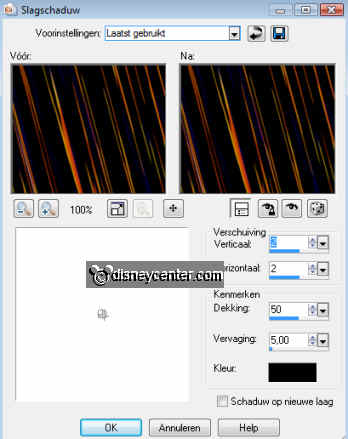
4. Effects - 3D Effects - Drop shadow.
5. Copy the halwpaper1 and paste as a new layer. Standing
properly.
6. Give the same drop shadow as in point 4.
7. Copy the tube halwcircle and paste as a new layer.
8. Give the same drop shadow as in point 4.
9. Click in the halwcircle
10. Selections - modify - expand 10.
11. New raster layer.
12. Copy the cirkel and paste into selection.
13. Selection - select none.
14. Layers - arrange - move down.
15. Duplicate this layer 2 times.
16. Lock the copies of this layer.
17. And stay at the first cirkel layer.
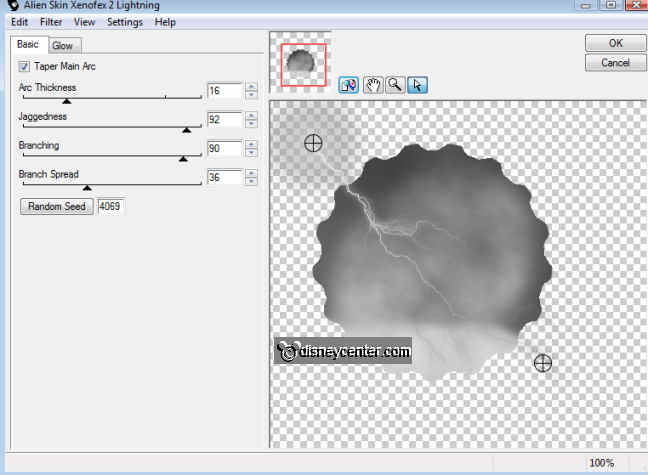
18. Effects - Xenoflex 2 - Lightning with this setting.
Click at OK
19. Lock the first layer and open the copy layer.
20. Effects - Xenoflex 2 - Lightning and click at Random Speed.
Click at OK
21. Lock the copy layer and open the copy (2) layer.
22. Effects - Xenoflex 2 - Lightning lick at Random Speed.
Click at OK
23. Copy the tube Halloween06-Cin and paste as a new layer.
24. Place at the bottom right.
25. Give the same drop shadow as in point 4.
26. Copy the tube cathalw and paste as a new layer.
27. Place at the bottom left.
28. Give the same drop shadow as in point 4.
29. Copy the tube flowerhalw and paste as a new layer.
30. Give the same drop shadow as in point 4.
31. Place it right on top of the two papers.
32. Copy the tube strikhalw and paste as a new layer.
33. Give the same drop shadow as in point 4.
34.Place it left on top of the two papers.
35. Copy this layer.
36. Image - Resize 60% - all layers not checked.
37. Place it on the other bow in the middle.
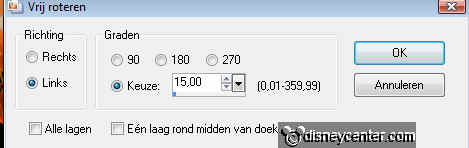
38. Image - free rotate 2 times links 15.
39. Stay now at the layer of the flowerhalw.
40. Duplicate this layer and place it on the 2 bows.
41. Lock all layers, except the top 3.
42. Stay at 1 of the other layers.
43. Layers - Merge - Merge Visible.
44. Unlock the other layers.
45. Go to text tool, size 36, font Fancypants.

46. Change the foreground color in #7d3e25
47. Write Happy Halloween and place it in the middle at the
bottom.
48. Put your watermark into the image.
49. Selections - select all.
50. Selections - modify - contract 20.
51. Selections - Invert.
52. Set the background color at #ee8143 and the foreground color
at #cbb18b.
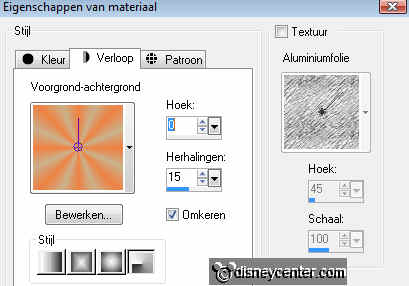
53. New raster layer and flood fill this with the gradient
Radial.
54. Let selection stay.
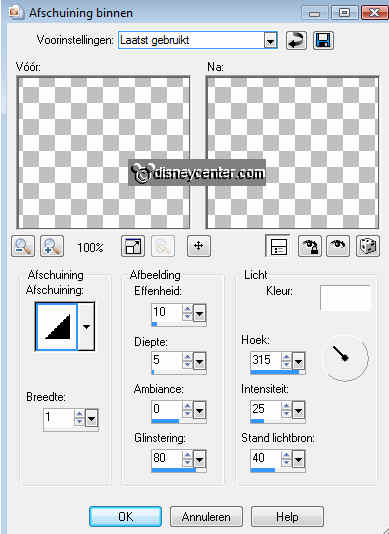
55. Effects - 3D Effects - Inner Bevel.
56. Selections - select none.
57. Image - Resize 75. All layers checked.
58. Open Animation Shop.
59. Lock the layers copy and copy (2). see below.
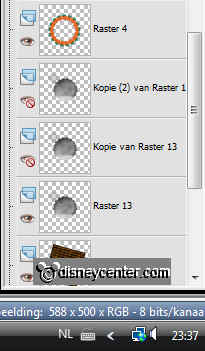
60. All other layers are open. Stay at the bottom layer.
61. Click on the blue / gray border above the image - copy
merged
62. Go to animation shop - Paste as a new animation.
63. Back in PSP. Lock the first circle layer and open the copy
layer.
64. Again Copy merged.
65. Back in animation shop - paste after current frame.
66. Back in PSP. Lock the copy circle layer and open the copy
(2) layer.
67. Again Copy merged.
68. Back in animation shop - paste after current frame.
69. Edit - select all.
70. Animation - Properties frame op 15.
71. Animation - Resize format of the animation 75%.
72. File - save as.... Click next 3 times and then finish.