|

This
Tutorial is copyrighted to the Tutorial Writer, © Emmy Kruyswijk 2011.
This Tutorial
may
not be forwarded, shared or otherwise placed on any Web Site or group without written
permission from
Emmy Kruyswijk
Do you want to link my lessons?
Please send
me a mail.
Materials
download here
1 Disney tube
1 tubes
, 1 misted tube van Annemiek
2 misted tubes
van Emmy
1 tube
1 font Japanese
en Animatie Shop.
filters: FM Tile Tools - Blend Emboss, Graphics Plus -
Cross Shadow, Penta.com - Dot Cross.
Download
here
Before you begins.......
Filters : Install first your plug-ins before you open PSP and put
them in the folder plug-ins.
Open your tubes in PSP
Open your font and minimize it.
This lesson is translated in
 by
Hélène by
Hélène
Japan

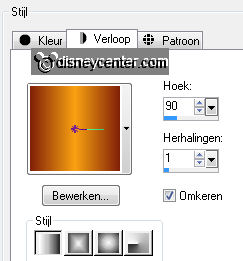
foreground color #f9a113 and background color #802109.
1.
Open new transparent image 700x500.
fill with the background color.
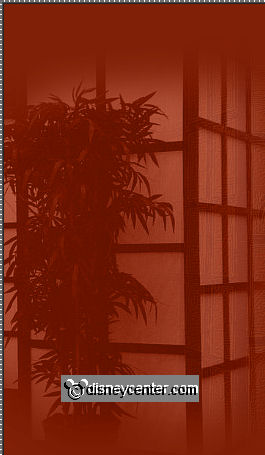
copy Japan02 - paste as new layer.
Move it to the right.
Set the blend mode to soft light - set the opacity to 20.
Effects - Edge Effects - Enhance.
Effects - FM Tile Tools - Blend Emboss - default setting.
Repeat Blend Emboss.
2.
Copy japan02 again - paste as new layer.
Image - mirror - All the way down the to left - see below.
Set the blend mode of this layer to Luminance (Legacy) - set the opacity to 56.
Effects - FM Tile Tools - Blend Emboss - with this setting.
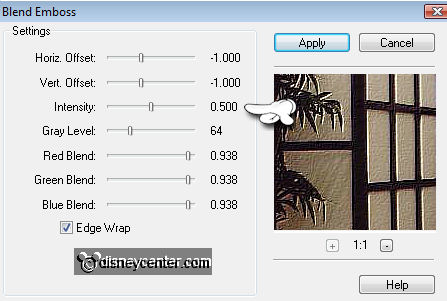
Repeat Blend Emboss.
3.
Copy Japthee and paste as new layer.
Image - resize75% - all layers unchecked.
Place them in the right corner.
Set the blend mode of this layer to soft light.
4.
Copy Disney-chinni86 and paste as new layer.
Image - resize 75% - all layers unchecked.
Place it down - about 200 pixels from the left.
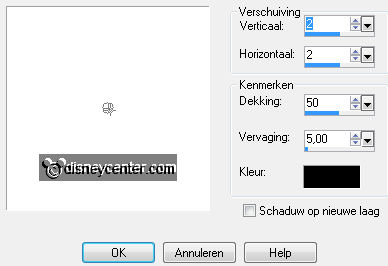
Effects - 3D Effects - Drop Shadow - with this setting.
5.
Copy 7107798-lg KTS and paste as new layer.
Image - resize 75% - all layers unchecked.
Image - mirror - put it in the top right.
Set the blend mode of this layer to soft light.
Set the opacity to 55.
6.
Go to text tool - Japanese font - size 90 - stroke width 2.

Write - Japan - convert to raster layer.
Give the same drop shadow as in step 4.
Place into left corner.
7.
Image - add border 1 - foreground color.
Image - add border 20 - background color.
Select the Border - fill it with gradient rectangular - with this setting.
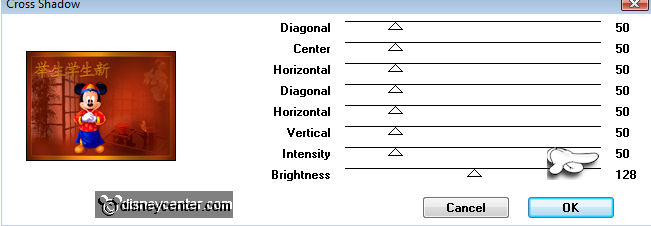
Effects - Graphics Plus - Cross Shadow - with this setting.
Effects - Penta.com - Dot Cross - with this setting.

Selections - select none.
8.
Image - add border 1 - foreground color.
Image - add border 5 - background color.
Image - add border 1 - foreground color.
9.
Image - add border 20 - background color.
Select the Border - fill it with gradient rectangular - with this setting.

Effects - Graphics Plus - Cross Shadow - with this setting.
Effects - Penta.com - Dot Cross - with this setting.
Selections - select none.
10.
Image - Resize 75% - all layers checked.
New layer - put your watermark in the image.
Layers - Merge - Merge all layers.
11.
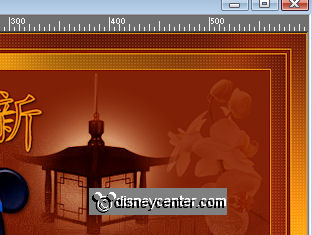
Copy Lamp - paste as new layer.
Image - resize 90% - all layers unchecked.
Place it on top - set the blend mode to soft light.
Duplicate this layer.
Set the blend mode back to normal and the opacity
to 50.
12.
Lock the top layer - activate the bottom layer.
Edit - copy - copy merged.
Open Animation Shop - paste as new animation.
13.
Back in PSP - Unlock the top layer.
Edit - copy - copy merged.
In animation shop - paste after active frame.
14.
Edit - select all - animation - frame properties to 25.
File- Save As - give name - click Next 3 times and then finish.
Ready is the tag
I hope you like this tutorial.
greetings Emmy,

Tutorial written
24-02-2011
|