
This
Tutorial is copyrighted to the Tutorial Writer, © Emmy Kruyswijk 2009.
This Tutorial
may
not be forwarded, shared or otherwise placed on any Web Site or group without written
permission from
Emmy Kruyswijk
Do you want to link my lessons?
Please send
me a mail.
Materials:
Download
here
1
Disney tube,
5 tubes from Sabre, Jessica
filter: Filters Unlimited
- Edges Round, VM Natural - Sparkle.
Download here
Put the plug-ins in the folder plug-ins
Christmas star Tree.
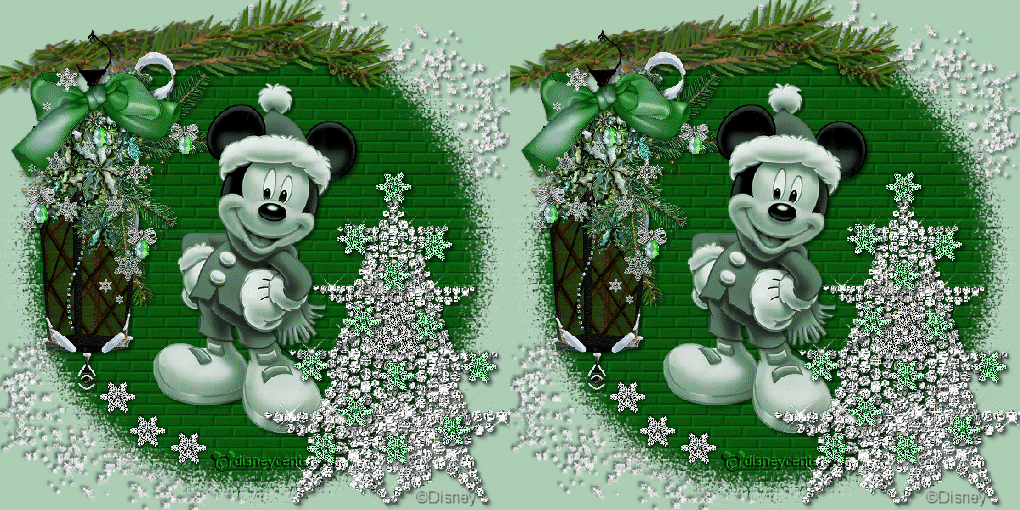
Foreground color #add0b7 and
background color #0c560e
1. Open new image 600x600
2. Fill this with the foreground color.
3. New raster layer - fill this with the background color.
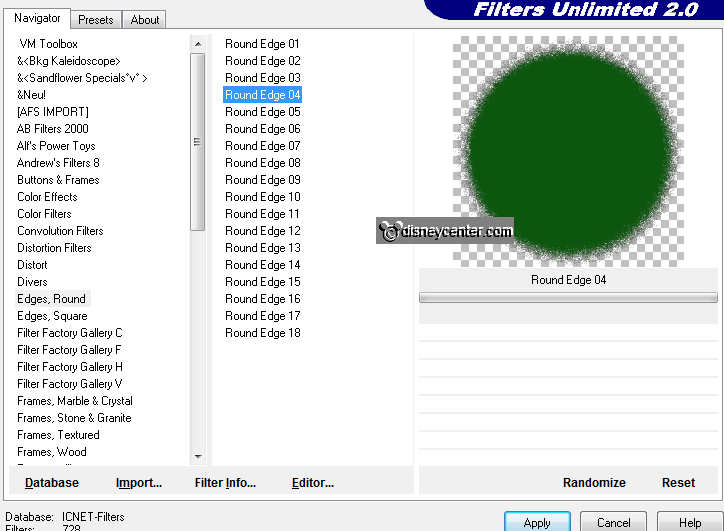
4. Effects - Filters Unlimited - Edges Round - Round Edge04.
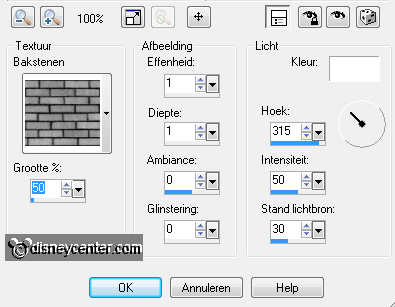
5. Effects - 3D Effects- texture effects- texture - bricks with this setting.
6. Copy the tube glitters and paste as a new layer.
7. Place this in the right upper corner.
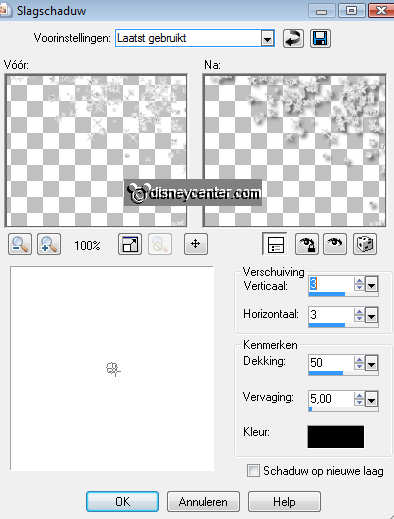
8. Effects - 3D Effects - drop shadow with this setting.
9. Layers - arrange - move down.
10. Duplicate this layer - image - mirror - image - flip.
11. Copy the tube takjes and paste as a new layer.
12. Give the same drop shadow as in point 8.
13. Image - mirror - place this at the top left.
14. Duplicate this layer - image - free rotate - left 10.

15. Place this against the other branch.
16. Copy the tube Poinsettia LanternSabre and paste as a new layer.
17. Place this at the branches.
18. Take away a part of the hanger. see below. No selection applied, because
then you can not erase.
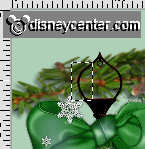
19. Give the same drop shadow as in point 8.
20. Copy the tube sterretje and paste as a new layer.
21. Place it diagonally under the lantern.
22. Duplicate this layer twice and place it diagonally among themselves.
23. Copy the tube Disney Kerst54 and paste as a new layer.
24. Image - mirror.
25. Adjust - Hue and Saturation - colorize.
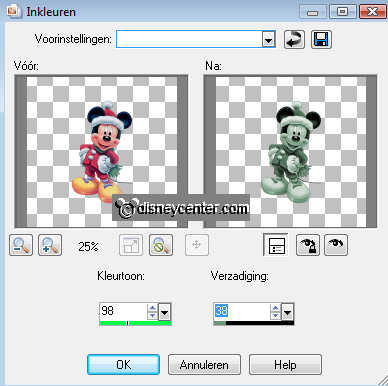
26. Give the same drop shadow as in point 8.
Now we make a Christmas tree from stars
27. Copy the tube PC_starbling1_JD and paste as a new layer.
28. Place it in the lower right corner.
29. Give the same drop shadow as in point 8.
30. Duplicate this layer - and place it next at the left side.
31. Duplicate this layer - image - resize 85% - resize all layers not checked.
32. Place it on top of the left star.
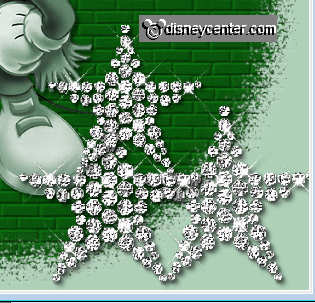
33. Duplicate this layer - place this at the right side.
34. Duplicate this layer - image - resize 85% - resize all layers not checked.
35. Place it on top of the left star.
36. Duplicate this layer - place this at the right side.
37. Duplicate this layer - place it on the top of the 2 stars.
38. Go to slide a bit till they are good.
39. Copy now the tube PC_starbling1_JD one more time and paste as a new layer.
40. Place it at the bottom of the tree in the middle of the open space, see
below.
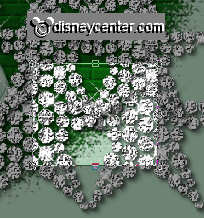
41. So now we have some other open spaces.
42. Copy the tube sterretje and paste as a new layer.
43. Adjust - Hue and Saturation - colorize.
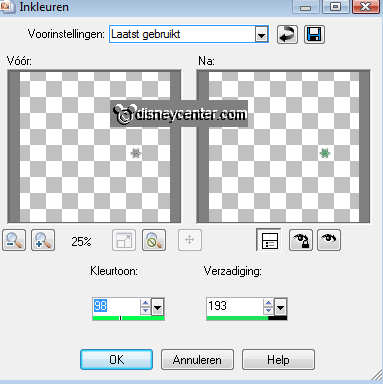
44. Place this on the top of the tree.
45. Duplicate this layer and decorate the tree with it. I used 13 little stars.
46. Lock all layers, (the last one is 7, the Mickey tube layer) except the
Christmas tree layers and the little stars layers.
47. Stay at one of the other layer 1 of the stars.
49. Layers - merge - merge all visible.
50. Duplicate this layer. Unlock the other layers.
51. Lock the top layer.
52. Stay on the merged layer.
53. Effects - VM Natural - Sparkle with this setting.
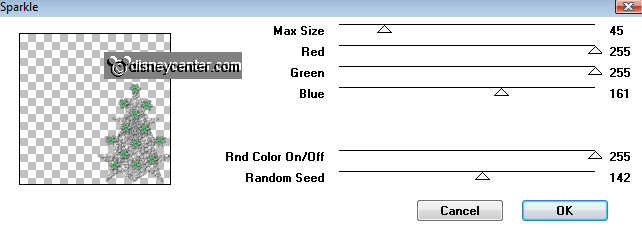
54. Lock the merged layer and unlock the copy of the merged layer.
55. Repeat point 53 but now max. size on 25.
56. Put your watermark into the image.
57. Image - resize 85% - resize all layer checked.
58. Open animation shop.
59. Lock the copy of the merged layer and stay at one of the other layers.
60. Edit - copy merged.
61. Go to animation shop - paste as a new animation.
62. Back in PSP - Lock the merged layer and open the copy of the merged layer.
63. Edit - copy merged.
64. Back in animation shop - paste after current frame.
65. File - save as - give a name - click 3 times at next and than at finish.
Ready is the tag
I hope you like this tutorial.
greetings Emmy,

Tutorial written
30-11-2009

