Mardi
Gras
Foreground color #dfc340 and background color #6c9f38
1.
Open new transparent image 680x550
Fill this with the background color.
2.
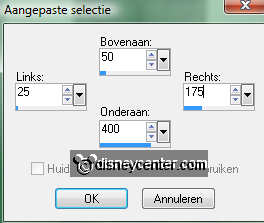
Go to selection tool - selection - custom selection.

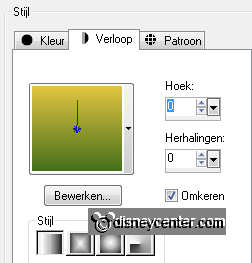
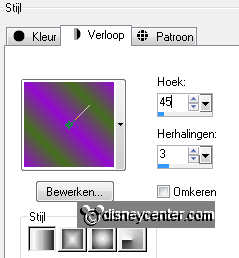
New raster layer - fill this with gradient linear.
Selections - select none.
3.
Effects - Toadies - What are you? - with this setting.
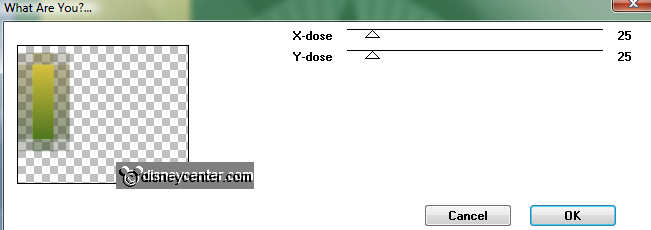
Repeat Toadies - What are you - now with x- en y-dose at 15.
Repeat Toadies - What are you - now with x- en y-dose at 5.
4.
Effects - Edge Effects - enhance more.
Effects - FM Tile Tools - Blend Emboss - default setting.
Duplicate this layer - image - mirror.
Layers - merge - merge down.
5.
Go to selection tool - selection - rounded rectangle.
New raster layer - pull a rectangle of 400x400
Fill this with the foreground color.
Selections - select none.
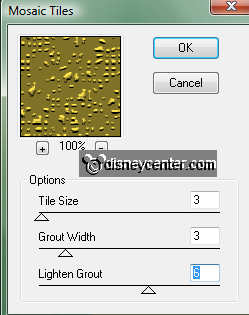
Effects - Texture - Mosaic Tile - with this setting.
6.
Set the blend mode of this layer at Luminance (Legacy) and the opacity at 65.
Effects - 3D Effects - drop shadow with this setting.
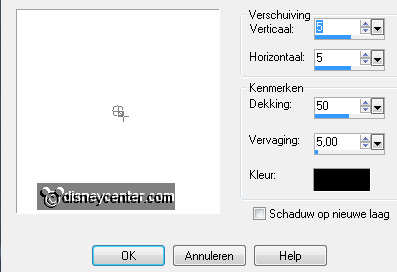
Repeat the drop shadow with -5.
7.
Open rs_mask6 - image - resize 50% - resize 50% - resize 75% - all layer
checked
Copy this and paste as a new layer.
Give the same drop shadow as in point 6 - without the repeat.
Place this left at the top of the rounded rectangle.
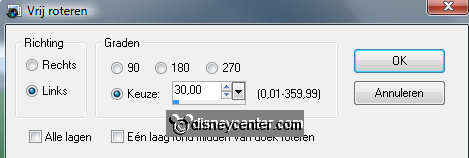
Image - free rotate - left 30.
8.
Open rs_mask4 - image - resize 50% - resize 50% - resize 75% - all layer
checked
Copy this and paste as a new layer.
Give the same drop shadow as in point 6 - without the repeat.
Place this right at the top of the rounded rectangle.
Image - free rotate - right 30.
Layers - merge - merge down.
9.
Open rs_streetlight - image - resize 65% - all layer checked. Image- mirror.
Copy this and paste as a new layer.
Give the same drop shadow as in point 7.
Place this at the left side.
Duplicate this layer - image - mirror.
Layers - merge - merge down.
10.
Open rs_streamer8 - image - resize 50% - all layer checked.
Copy this and paste as a new layer.
Give the same drop shadow as in point 7.
Place this at the right streetlight left.
Open rs_streamer4 - image - resize 50% - all layer checked.
Copy this and paste as a new layer.
Give the same drop shadow as in point 7.
Place this at the right streetlight right.
11.
Layers - merge - merge down.
Duplicate this layer - image - mirror.
Layers - merge - merge down.
12.
Copy mmsjeik and paste as a new layer
Give the same drop shadow as in point 7.
Place this in the middle at the bottom..
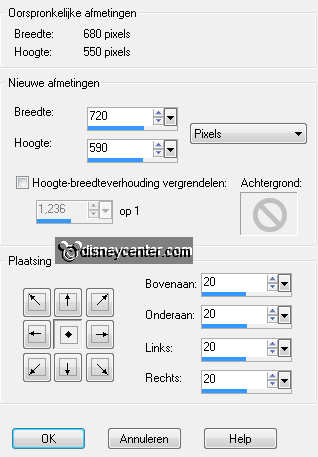
13.
Image - canvas size -with this setting.
Layers - merge - merge all visible.
New raster layer - arrange - send to the bottom.
Fill this with gradient linear with this setting.
14.
Make the top layer active.
Effects - 3D Effects - drop shadow - with this setting.
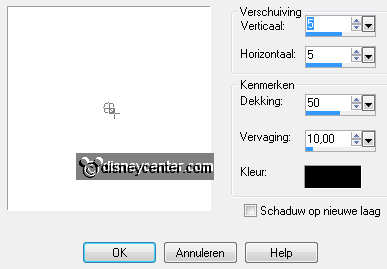
Repeat the drop shadow with -5.
Effects - MVs Plugin-PanoWarp - with this setting.
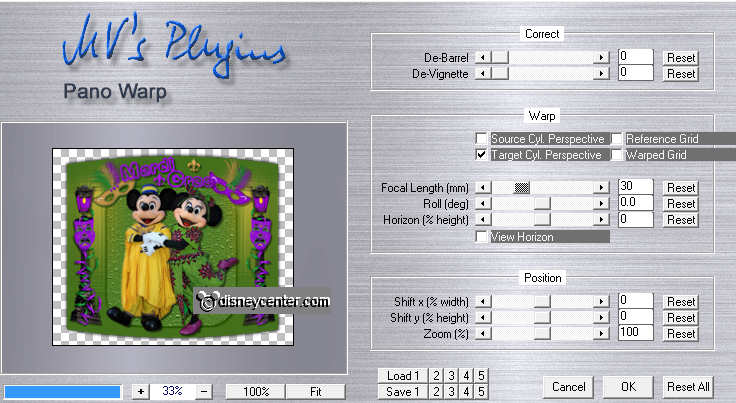
Image - add border 1 - background color.
15.
New raster layer -put your watermark into the image.
Layers - merge - merge all.
16.
Open rs_tragedymask - image - resize 50% - resize 50%- all layers checked.
Duplicate this layer. Stay at the first layer.
Adjust - add/remove noise - add noise with this setting.
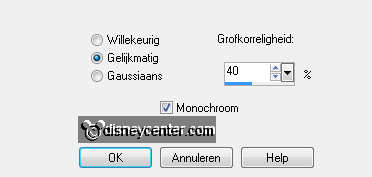
Stay at the copy layer - repeat the noise, now with 50 uniform.
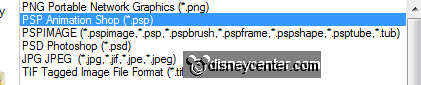
File - save as - see below.
17.
Open now animation shop.
Open the word-art Mardi Gras and rs_tragedymask.
Back in PSP - copy the image and paste as a new animation in AS.
Edit - Duplicate selected - Edit - select all.
Make rs_tragedymask active - edit - select all
Copy - click in the first frame of the image - paste into selected
frame. Place this on the left streetlight.
Go back to thee rs_tragedymask - Animation - mirror.
Copy - click in the first frame of the image - paste into selected
frame. Place this on the right streetlight.
18.
Make the word-art active - edit - select all.
Copy - paste into selected frame. Place this at the top in the middle.
Animation - resize format animation 85%.
File - save as - give name - click 3 times at next and than at finish.
Ready is the tag
I hope you like this tutorial.
greetings Emmy
Tested by Bep
Tutorial written
14-09-2011