|

This
Tutorial is copyrighted to the Tutorial Writer, © Emmy Kruyswijk
28-02-2013.
This Tutorial may not be forwarded, shared or otherwise placed on any Web Site
or group without written
permission from
Emmy Kruyswijk.
Many of the material are made by me.
Please respect my work and don't change the file names.
At all Disney creations must be copyrighted.
Do you want to link my lessons?
Please send
me a mail.
Needing:
1 image 285x385, 2
accents made by me.
silver pattern,
Plug-ins:
AAA Frames – Foto Frame, L en K Landsite of Wonders – L
en K’s Jeffrey,
download
here
Before you begins.......
Open the image, accents in PSP.
Set the plug-ins in the folder
plug-ins and the silver pattern in the folder patterns.
Material

Mickey en Minnie
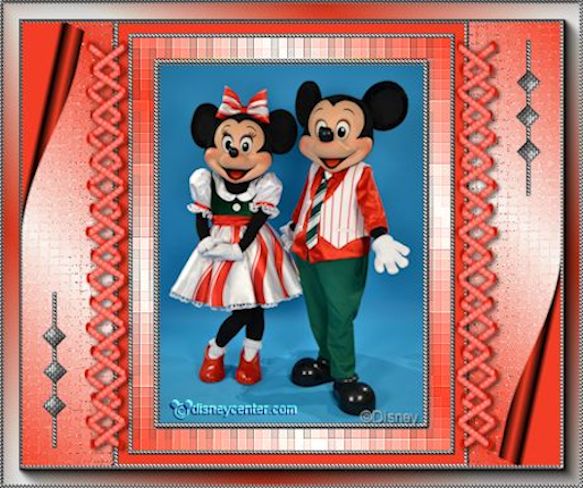
1.
Open the image micminframe.
Copy the image by clicking at Shift+D – close the original image.
2.
Set in the material palette the foreground color at #f6f3ed
and the background color at #f23e26.
Make from the foreground a gradient linear – with this setting.
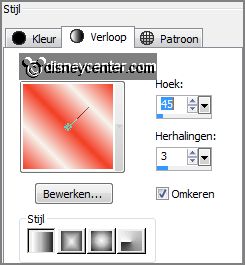
Set in the material palette the background at the
silver pattern.
3.
Image – add border 3 pixels – symmetric checked – foreground color.
Activate the magic wand – with setting below –
and select the border.

4.
Activate flood fill tool – fill the selection with
the silver pattern.
Effects – 3D Effects – Inner Bevel –
with this setting.
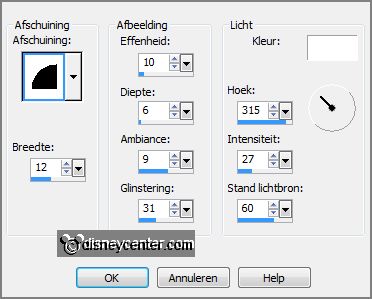
Image – add border 25 pixels – symmetric checked
– background color.
Select with the magic wand the border
5.
Fill the selection with the gradient linear.
Effects – plug-ins – L en K Landsite of Wonders – L en K’s Jeffrey –
with this setting - click OK.
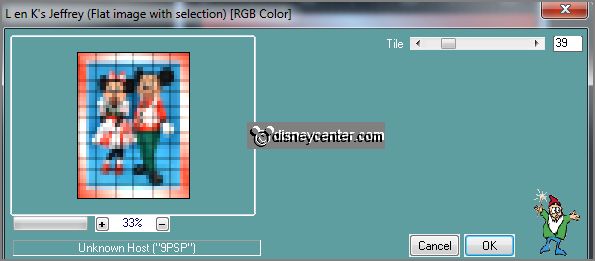
Effects – Edge effects – enhance more.
6.
Selections – select all.
Selections – modify – select selection borders –
with this setting.
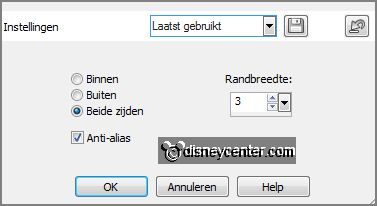
7.
Layers – new raster layer.
Fill the selection with the silver pattern.
Effects – 3D Effects – Inner Bevel –
setting is right.
Selections – select none.
8.
Image – add border 10 pixels – symmetric checked– background color .
Image – add border 4 pixels – symmetric
checked– color black.
Select with the magic wand the black border.
Fill the selection with the silver pattern.
Effects – 3D Effects – Inner Bevel – setting is right.
9.
Image – add border – symmetric not checked
–
with this setting.
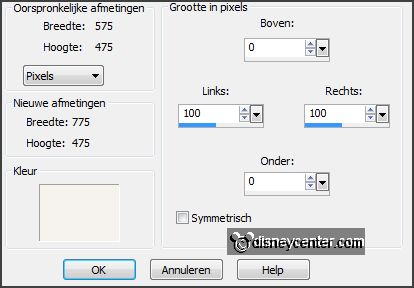
Select with the magic wand the white border.
Fill the selection with the gradient linear.
10.
Effects – Texture effects – Mosaic Antique –
with this setting.
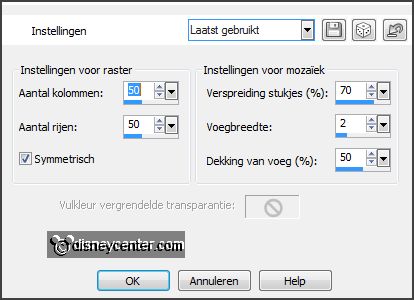
Selections – select none.
11.
Activate accentemmy – edit - copy.
Edit - paste as a new layer on the image.
Effects – Image effects – offset –
with this setting.
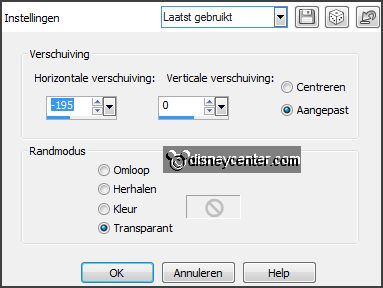
12.
Layers – duplicate.
Image – mirror.
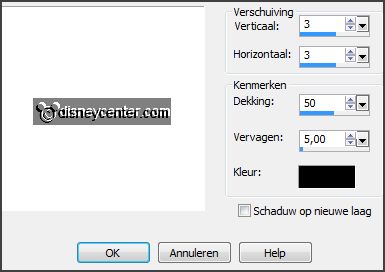
Effects – 3D Effects – drop shadow –
with this setting.
13.
Make the bottom layer active.
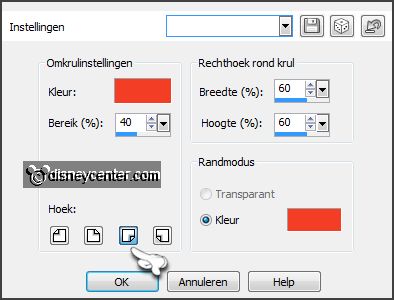
Activate selection tool – rectangle – and make a selection as below.

Effects – Image effects – Page Curl –
with this setting.
14.
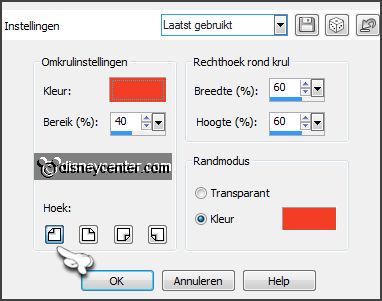
Make the same selection at the left side.
Effects – Image effects – Page Curl – with this setting.
15.
Selections – select all.
Selections – modify – select selection borders
–
with this setting.

16.
Layers – new raster layer.
Fill the selection with the silver pattern.
Effects –
3D Effects – Inner Bevel – setting is right.
Selections – select none.
17.
Image – add border 20 pixels – symmetric
checked –
foreground color.
Select with the magic wand the border.
Fill the selection with the gradient linear.
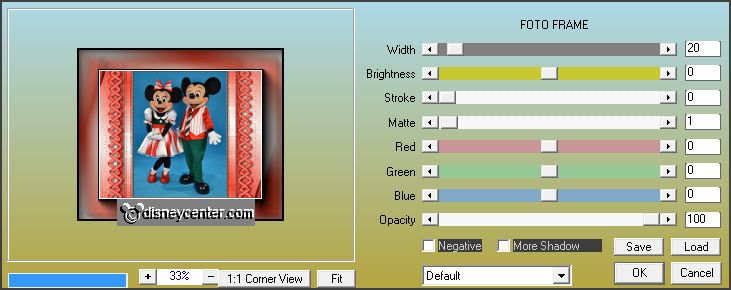
Effects – plug-ins – AAA Frames – Foto Frame –
with this setting - click OK.
18.
Selections – select all.
Selections – modify – select selection borders
–
with this setting.

Layers – new raster layer.
19.
Fill the selection with the silver pattern.
Effects – 3D Effects – Inner Bevel – setting is right.
Selections – select none.
20.
Activate accentemmy1 – edit - copy.
Edit - paste as a new layer on the image.
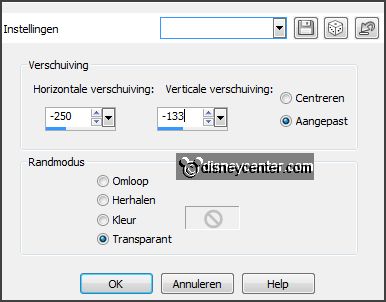
Effects – Image effects – offset – with this setting.
21.
Layers – duplicate.
Image – flip – image – mirror.
22.
Layers – new raster layer – put your watermark into the image.
File – export – JPEG Optimizer.
Ready is the tag
I hope you like this tutorial.
greetings Emmy
Tested by Nelly

tutorial written 28-04-2013.
|