1. Open new image 600x600
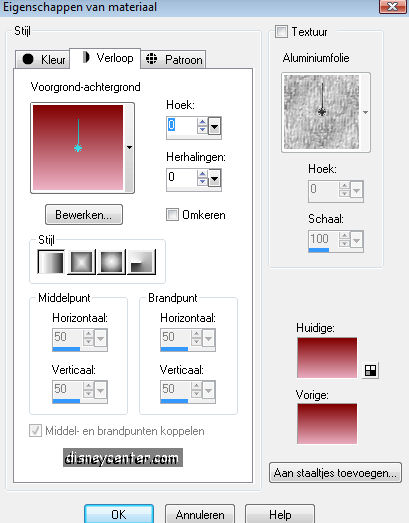
2. Flood fill this with gradient foreground color #edb2c6 and
background color
#800000
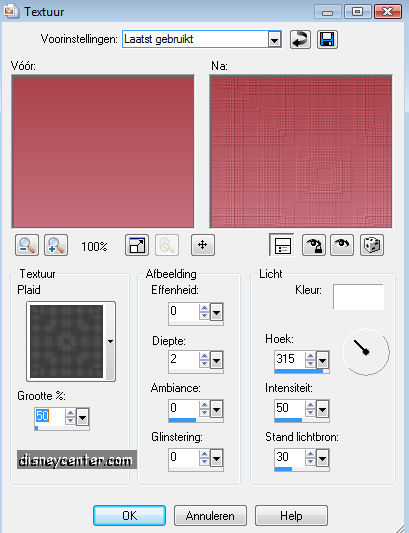
3. Effects - Texture effects - texture - Plaid.
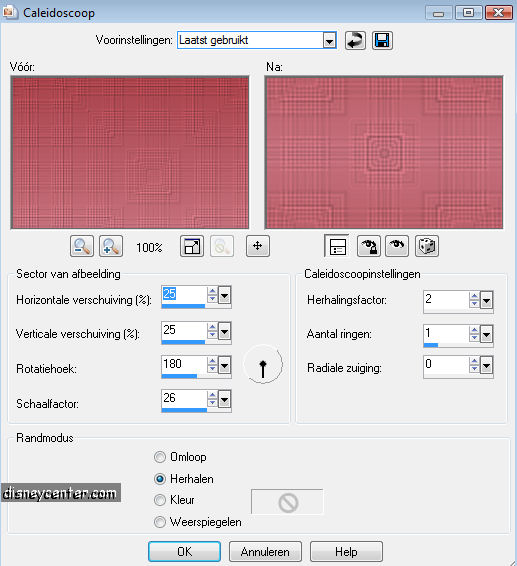
4. Effects - Reflection-effects - Kaleidoscope.
5. Go to selection tool- selections - custom selection.

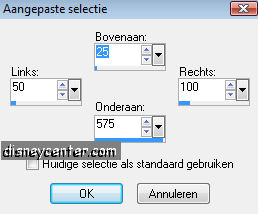
6. New layer flood fill with foreground color.
7. Effects - 3D Effects - drop shadow 2-2-50-5.00
8. Duplicate this layer. Select this layer and flood fill this with
the background layer.
9. Both layers edit with the plug-in below.
10. Effects - Xero - Fritillary 5-30-10-0 default setting. Select
none.
11. Lock the bottom layer. Stay on one of the other layers.
12. Layers - merge - Merge visible.
13. Duplicate this layer.
14. Image - Free rotate - 90 right.
15. Place this at the top right.
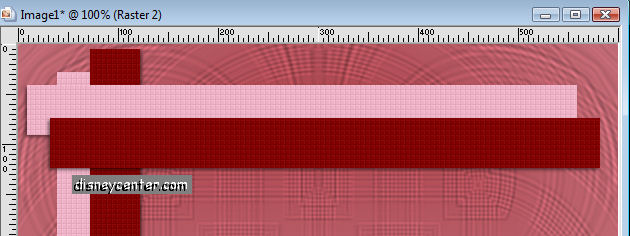
16. Go to Preset Shape Tool and find Shape 7.
17. Go from right to left ca. 450-500 long.
18. Image - free rotate - 90 right.
19. Give the same drop shadow as in point 7.
20. Effects - Screenworks - Dot Screen default setting.
21. Copy the Mickey/Minnie tube and paste as a new layer.
22. Give the same drop shadow as in point 7.
23. Go to text tool and write Happy in the background color with
font Monotype Corsiva size 36.
24. Write Valentine in the foreground color same font but size 48.
25. Put your watermark into the image.
26. Layers - merge - Merge all.
27. Image - add border 5 background color #800000.
28. Select border - Effects - 3D Effects - Inner Bevel. Select
none.
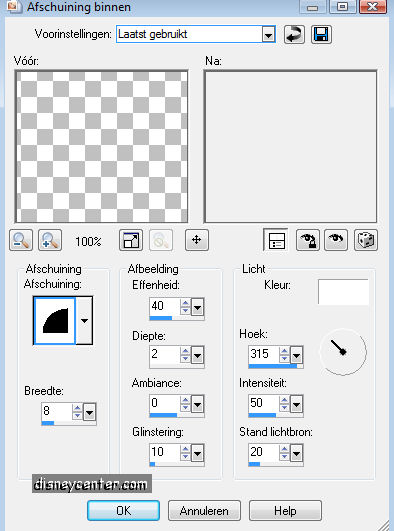
29. Image - add border 30 foreground color #edb2c6.
30. Select border - Effects - Screenworks - Dot screen. Select none.
31. Repeat point 27 and 28.
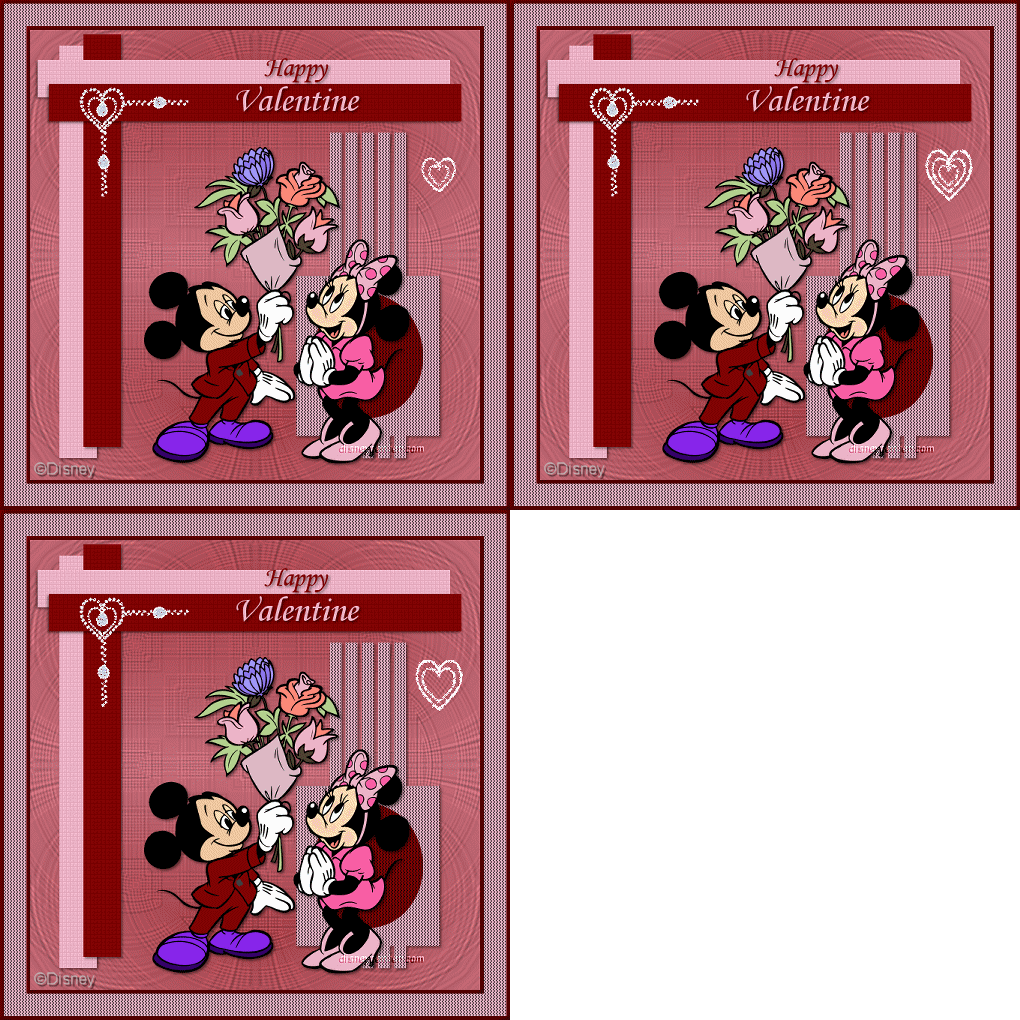
32. Make the border of the image active. see below.

33. Copy
34. Open now animation shop.
35. Paste as a new animation.
36. Edit- duplicate selected and one more time.
37. Open animation1 - Edit - Select all - click at the border
- copy.
38. Go back to the image - Edit - Select all -
click in the image - paste into selected frame.
39.Place this left at the red horizontal border. see tag top.
40. Open animation4 - Edit - Select all- click at the border
- copy.
41.Repeat point 38.
42. Place this right under the red horizontal border. see tag top.
43. Go to animation - Resize animation 75 %.
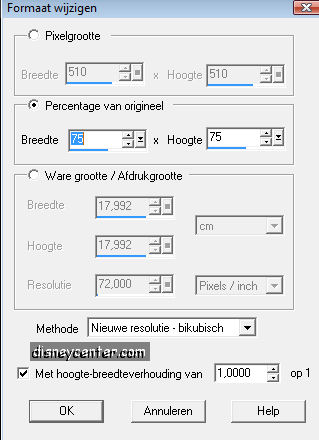
44. File - save as..... Give a name and save as a gif.
Ready is the tag
I hope you like this tutorial.
greetings Emmy,

Tutorial written 14-01-20