1.
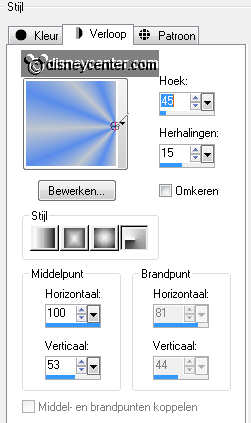
Put in the material palette the foreground on #c0c7cf and the background on #598ceb.
Make from the foreground a gradient radial – with these setting.
2.
File – open – new transparent image 700x500.
Activate flood fill tool – fill the layer with the gradient.
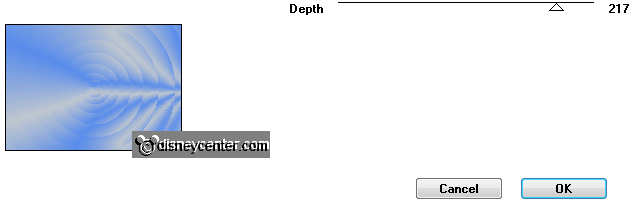
Effects – plug-ins – Filter Factory Gallery C – Evanescene – with these setting –
click OK.
3.
Layers – duplicate.
Image - mirror.
Put in the layer palette the opacity of this layer on 50.
4.
Layers – merge – merge down.
Effects – Edge effects – enhance.
Effects – Image effects – seamless tiling – default setting.
5.
Selections – select all.
Selections – contract 35 pixels.
6.
Layers – new raster layer.
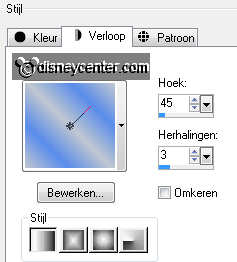
Change in the material palette the gradient radial – in gradient linear – with
these setting.
7.
Fill with the flood fill the layer with the gradient.
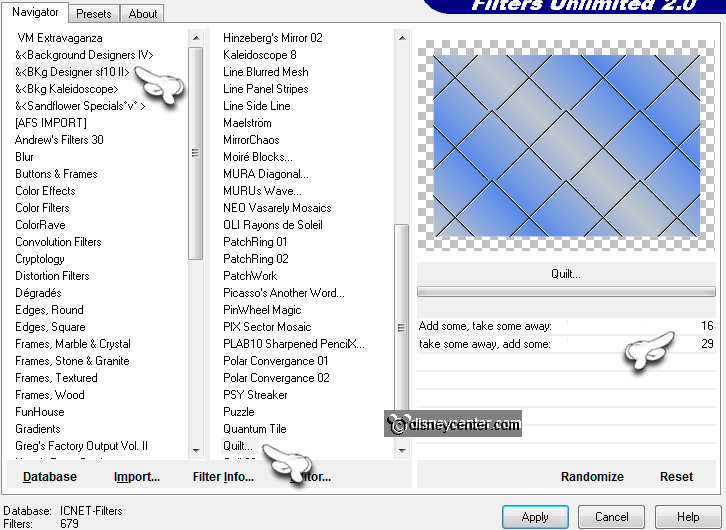
Effects – plug-ins - Filter Unlimited 2.0 - &<BKgDesigner sf10 II – Quilt – with
these setting - click Apply.
8.
Layers – new raster layer.
Activate the image towerbridge – edit - copy.
Edit - paste into selection.
Selections – select none.
9.
Put in the layer palette the opacity of the layer on 24.
Layers – merge – merge down.
Effects – 3D Effects – drop shadow – with these setting.
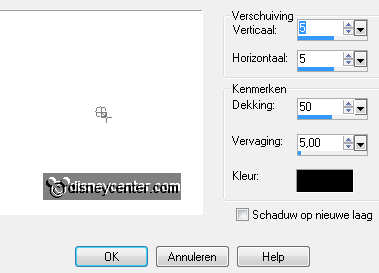
Repeat the drop shadow, but now with vert. and horz. on -5.
10.
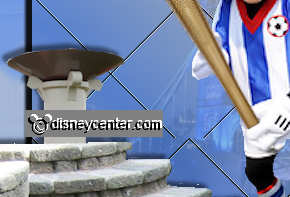
Activate the tube olympicsteps – edit - copy.
Edit - paste as a new layer on the image.
Activate move tool – put the tube left at the bottom – see example.
Effects – 3D Effects – drop shadow – with these setting.
11.
Go to selection tool – rectangle and pull a rectangle as below.
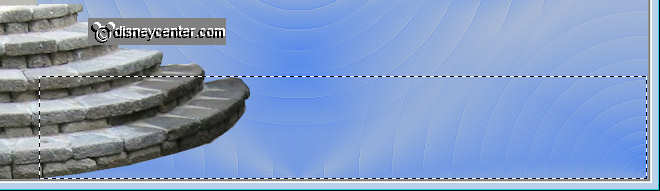
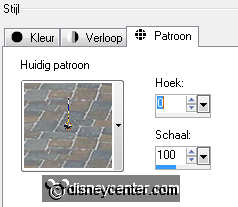
Put in the layer palette the foreground on pattern stones.
12.
Layers – new raster layer.
Activate the flood fill – fill the selection with the pattern – with these
setting.
Selections – select none.
Layers – arrange – move down.
13.
Activate the tube micfootball – edit - copy.
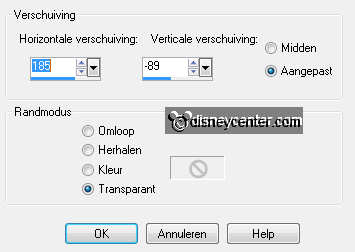
Edit - paste as a new layer on the image.
Effects – Image effects – offset – with these setting.
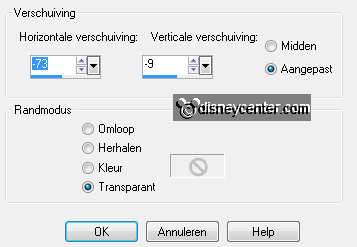
Effects – 3D Effects – drop shadow – setting is right.
14.
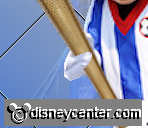
Activate the tube micfootball again – zoom in a few times.
Go to free hand selection tool – free hand – and make a selection as below.
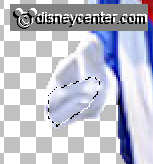
Edit – copy – edit – paste as a new image.
This we need later.
15.
Activate the tube olympicgold – edit - copy.
Edit - paste as a new layer on the image.
Activate move tool and put the tube in the left upper corner.
Effects – 3D Effects – drop shadow – setting is right.
16.
Activate the tube olympicrings – edit - copy.
Edit - paste as a new layer on the image.
Move this to the right upper corner – see example.
17.
Activate word-art-Emmylondon – edit - copy.
Edit - paste as a new layer on the image.
Effects – Image effects – offset – with these setting.
18.
Selections – select all.
Image – crop to selection.
19.
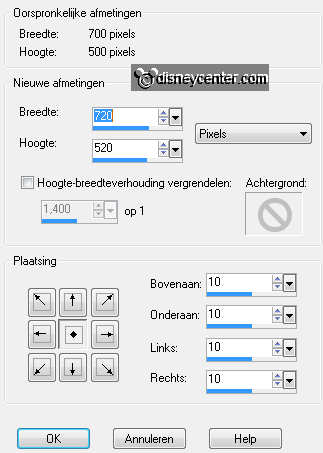
Make the bottom layer active.
Image – canvas size – with these setting.
20.
Selections – select all.
Selections – Float – selections – Defloat.
Selections – Invert.
21.
Fill with the flood fill the selection with the background color.
Selections – Promote selection to layer.
Selections – select none.
22.
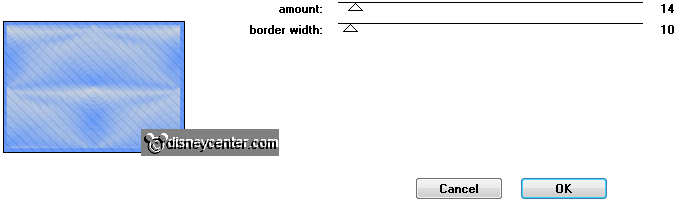
Effects – plug-ins – Penta.com – Jeans – with these setting.
Layers – duplicate.
Image – mirror.
Put in the layer palette the opacity of this layer on 50.
Layers – merge – merge down.
23.
Layers – new raster layer – put your watermark into the image.
Edit – copy merged.
24.
Open Animation Shop.
Edit – paste as a new animation.
Animation – Insert Frames – Empty Frames – with these setting.

25.
Open animation Emmytorch.
Edit - select all.
26.
Edit - copy.
Edit – paste into selected frame – click in the image.
Put the animation at the left hand and against the right hand - see below.
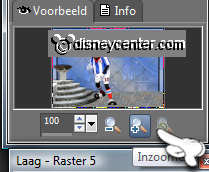
27.
Go back to PSP – look for the image of the piece of hand.
Edit - copy.
28.
Back in AS – paste as a new animation.
Animation – Insert Frames – Empty Frames – with these setting.
29.
Edit - copy.
Edit – paste into selected frame. Make sure that all frame are selected.
Put this on the left hand – see below.
30.
File – save as – give name – click 3 times at next and than at finish.