|

This
Tutorial is copyrighted to the Tutorial Writer, © Emmy Kruyswijk
19-06-2013.
This Tutorial may not be forwarded, shared or otherwise placed on any Web Site
or group without written
permission from
Emmy Kruyswijk.
Many of the material are made by me.
Please respect my work and don't change the file names.
At all Disney creations must be copyrighted.
Do you want to link my lessons?
Please send
me a mail.
Needing:
1 raster tube, 1
image, from me.
1 template portrait -
download here
- made by me
3 tubes
Plug-in
Italian Editors Effect - Seppia
is in the material.
Plug-ins:
Alien Skin Eye Candy 5 Impact - Gradient Glow,
Penta.com
- Color Dot
en Italian Editors Effect –
Seppia,
download
here
Before you begins.......
Open the tubes, the image and the template in PSP.
Set the plug-ins in the
folder plug-ins.
Material

Portrait
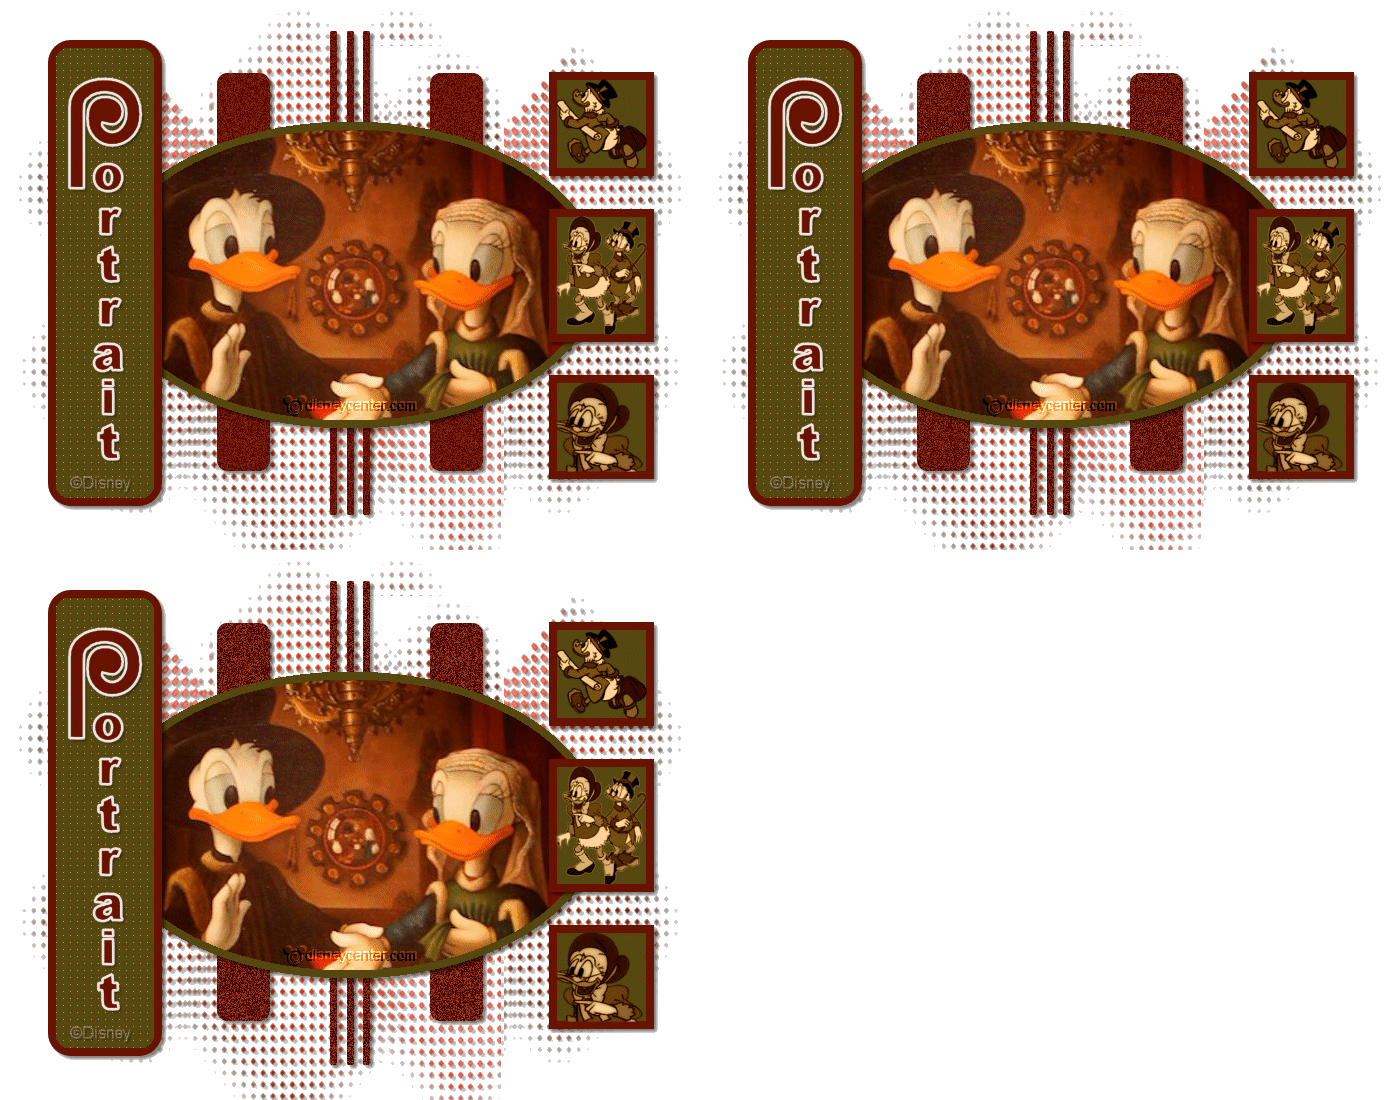
1.
Set in the material palette the foreground color on #6a1100 and the background
color on #57480f.
Open template portrait – shift + D – close the original template.
Delete the copyright layer.
2.
Activate the bottom layer.
Activate rasteremmy – edit - copy.
Edit – paste as a new layer on the image.
Effects – 3D Effects – drop shadow – with this setting.
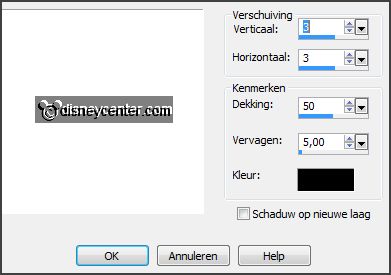
3.
If you use another foreground color–colorize the raster in that color.
Use the K and the V.
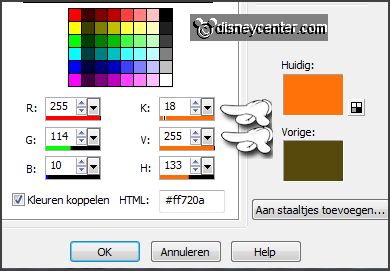
Delete the bottom
layer.
4.
Activate 3 lines of the template.
Adjust – Hue and Saturation – colorize – with this setting.
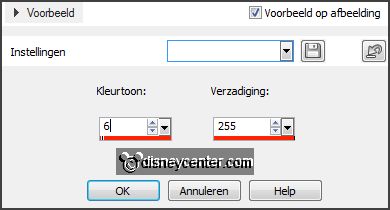
5.
Activate greenline1 of the template .
Adjust – Hue and Saturation – colorize –
setting is right.
6.
Activate greenline2 of the template .
Adjust – Hue and Saturation –
colorize – setting is right.
Layers - merge - merge down – and 1 more time.
Effects – 3D Effects – drop shadow – setting is right.
7.
Activate the magic wand with setting below – and select the grey ovaal.

Activate the image portrait – edit - copy.
Edit – paste as a new layer on the image.
8.
Selections – invert – click on the delete key.
Selections – select none.
Layers – merge – merge down.
9.
Activate green rectangle round van de template.
Adjust – Hue and Saturation – colorize –
setting is right.
10.
Activate 2 green squares van de template.
Adjust – Hue and Saturation –
colorize – setting is right.
11.
Activate raster 2 of the template.
Adjust – Hue and Saturation – colorize –
setting is right.
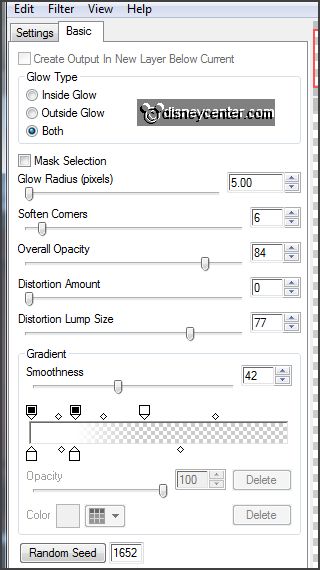
Effects – plug-ins – Alien Skin Eye Candy 5 Impact – Gradient Glow – with this
setting -
click Apply.
12.
Activate white rectangle round van de template.
Activate flood fill tool – fill the layer with the background color.
Effects – plug-ins – Penta.com – Color Dot – with this setting
- click OK.

Layers – merge – merge down.
Effects – 3D Effects – drop shadow – setting is right.
13.
Activate black ovaal of the template.
Fill the layer with the background color.
Make the layer grey ovaal active.
Layers – merge – merge down.
Effects – 3D Effects – drop shadow – setting is right.
14.
Activate 3 white squares of the template.
Fill the layer with the background color.
Layers – merge – merge down.
Effects – 3D Effects – drop shadow – setting is right.
15.
Select with the magic wand the top square – see below.
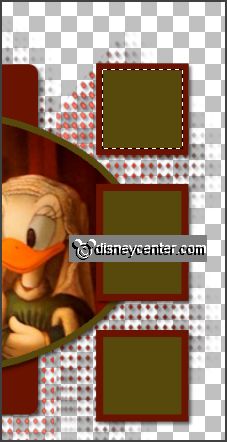
Layers – new raster layer.
16.
Activate de tube Ducktales 71 – edit - copy.
Edit – paste into selection.
Effects – plug-ins – Italian Editors Effect – Seppia – with this setting
- click OK.

Selections – select none.
17.
Activate 2 green squares of the template.
Layers – new raster layer.
18.
Select with the magic wand the bottom
square.
Activate de tube Ducktales 29a – edit - copy.
Edit – paste into selection.
Effects – plug-ins – Italian Editors Effect – Seppia – setting is right.
Selections – select none.
19.
Activate 2 green squares of the template.
Layers – new raster layer.
20.
Select with the magic wand the middle square.
Activate de tube Ducktales 29 – edit - copy.
Edit – paste into selection.
Effects – plug-ins – Italian Editors Effect – Seppia – setting is right.
Selections – select none.
21.
Make raster 1 of the template active.
Layers – merge – merge down
and 2 more times.
22.
Make the top layer active.
Layers – new raster layer – put your watermark into the image.
23.
Lock in the layer palette the bottom 2 layers and make the top layer active.
Layers – merge – merge all visible layers.
Open the 2 bottom layers.
24.
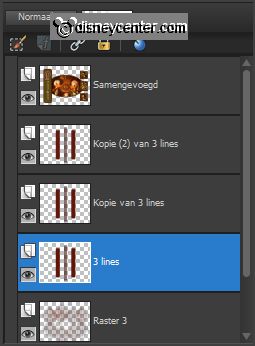
Activate the layer 3 lines.
Layers – duplicate and 1 more time.
This is what you have now – see below.
25.
Activate 3 lines.
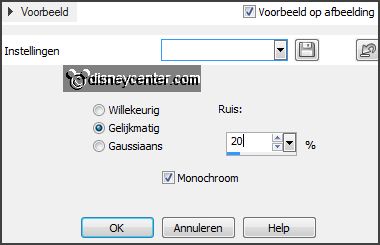
Adjust – add/delete noise – add noise
– with this setting.
26.
Activate copy of 3 lines.
Adjust – add/delete noise – add noise
– now noise on 30.
27.
Activate copy (2) of 3 lines.
Adjust – add/delete noise – add noise
– now noise on 40.
28.
Lock the 2 copy layers and make the bottom layer active.
Edit - copy merge.
Open Animatie Shop – paste as a new animation.
29.
Back to PSP – lock 3 lines and open copy of 3 lines.
Edit - copy merge.
In AS – paste after active frame.
30.
Back to PSP – lock copy of 3 lines and open copy(2) of 3 lines.
Edit - copy merge.
In AS – paste after active frame –
be sure the last frame is selected.
31.
File – save as – give name - click 3 times at
next and than at finish.
Ready is the tag
I hope you like this tutorial.
greetings Emmy
Tested by Nelly

tutorial written 19-06-2013.
|