2.
Activate flood fill tool - fill the layer with the gradient.
Adjust - blur - Gaussian blur - radius 20.
Selections - select all.
Selections - modify - contract 60 pixels.
3.
Layers - new raster layer.
Fill the layer with the gradient radial
Adjust - blur - radial blur - with this setting.
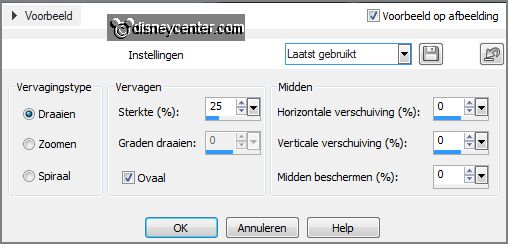
Selections - select none.
4.
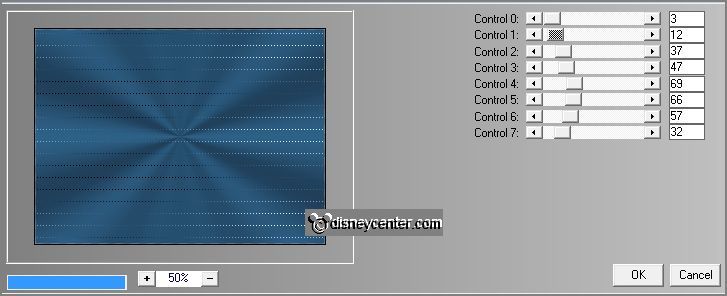
Effects - plug-ins - L & K Landsiteofwonders - L & K's Zitah - with this setting -
click OK.
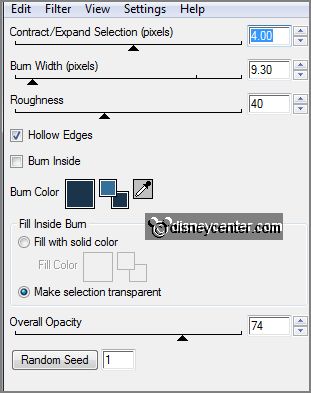
Effects - plug-ins - Alien Skin Xenoflex2 - Burnt Edges - with this setting -
click OK.
Activate selection tool - custom selection - with this setting.
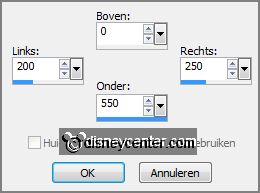
5.
Layers - new raster layer.
Fill this with the background color.
Selections - select none.
6.
Layers - duplicate.
Image - mirror.
Layers - merge - merge down.
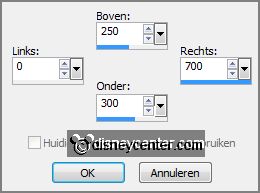
Selection - custom selection - with this setting.
7.
Layers - new raster layer.
Fill this with the background color.
Selections - select none.
Layers - merge - merge down.
8.
Effects - plug-ins - L & K Landsiteofwonders - L & K's Zitah - with this setting -
click OK.
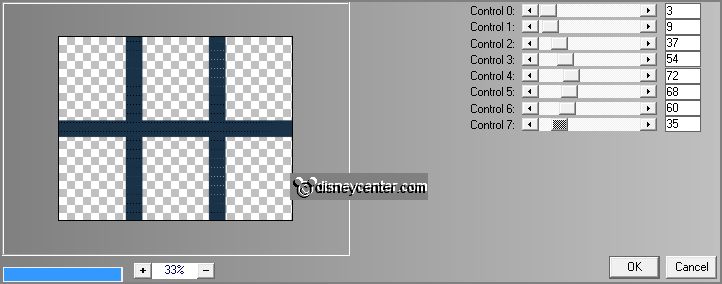
Layers - arrange - move down.
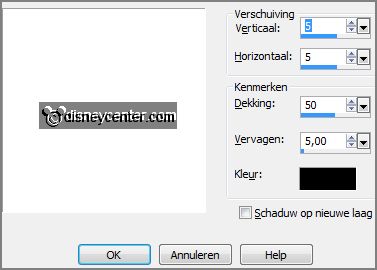
Effects - 3D Effects - drop shadow - with this setting.
9.
Activate the top layer.
Selections - select all.
Selections - float - selections - defloat.
Selections - modify - contract 40 pixels.
10.
Layers - new raster layer.
Set in the layer palette the foreground back to color and now color white.
Fill the selection with the foreground color white.
Selections - modify - contract 3 pixels - click at the delete key.
11.
Activate the image strand - edit - copy.
Edit - paste into selection.
Selections - select none.
Layers - merge - merge down.
12.
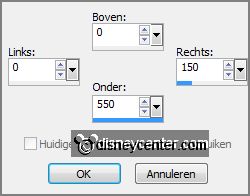
Selection - custom selection - with this setting.
Layers - new raster layer.
Set in the layer palette the color back to #35709b and than to gradient radial -
setting is right.
Fill the selection with the gradient.
Selections - select none.
13.
Effects - plug-ins - Tramages - Holiday in Egypt - with this setting - click OK.

Layers - duplicate.
Image - mirror.
Layers - merge - merge down.
Layers - arrange - move down and 1 more time.
14.
Activate raster 2.
Activate free hand selection tool - and make a selection as below.
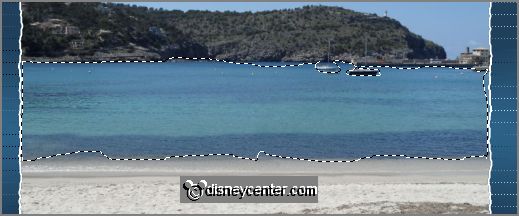
Layers - duplicate and 1 more time.
15.
Activate raster 2 again.
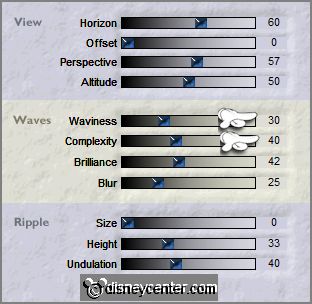
Effects - plug-ins - Flaming Pear - Flood - with this setting - click
OK.
16.
Activate copy of raster 2.
Effects - plug-ins - Flaming Pear - Flood - Waviness 40 en Complexity 50 -
others stay right - click OK.
17.
Activate copy(2) of raster 2.
Effects - plug-ins - Flaming Pear - Flood - Waviness 50 en Complexity
60 - click OK.
Selections - select none.
18.
Activate raster 2 again.
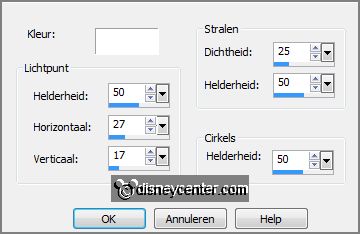
Effects - Illumination effects - Sunburst - with this setting.
19.
Activate copy of raster 2.
Effects - Illumination effects - Sunburst - now with Brightness at 60 others
stay right.
20.
Activate copy(2) of raster 2.
Effects - Illumination effects - Sunburst - now with Brightness at 70.
Lock in the layer palette the 2 copy layers.
21.
Activate the tube boot - edit - copy.
Edit - paste as a new layer on the image.
Image - resize - 75% - all layers not checked.
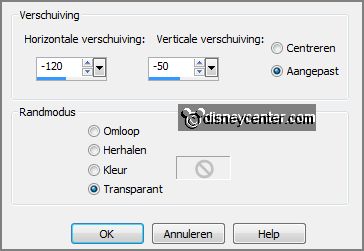
Image - free rotate - with this setting.

Effects - Image effects - offset - with this setting.
Effects - 3D Effects - drop shadow- setting is right.
22.
Activate the tube El48 - edit - copy.
Edit - paste as a new layer on the image.
Effects - Image effects - offset - with this setting.
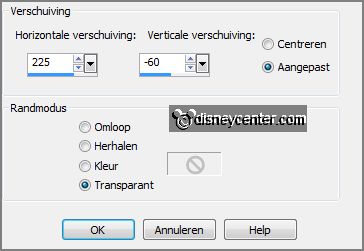
Effects - 3D Effects - drop shadow- setting is right.
23.
Activate the tube ShellsandsPearls DVDM.
Image - resize 75% - alle layers checked.
Edit - copy.
Edit - paste as a new layer on the image.
Activate move tool - place this right at the bottom for the plant - see example.
Effects - 3D Effects - drop shadow- setting is right.
24.
Activate the tube minvakantie - edit - copy.
Edit - paste as a new layer on the image.
Place this left - see example.
Effects - 3D Effects - drop shadow- setting is right.
25.
Activate the word-art-theBeach - edit - copy.
Edit - paste as a new layer on the image.
Place this at the top in the middle.
Layers - new raster layer - put your watermark into the image.
26.
Activate the top layer.
Image - canvas - with this setting.
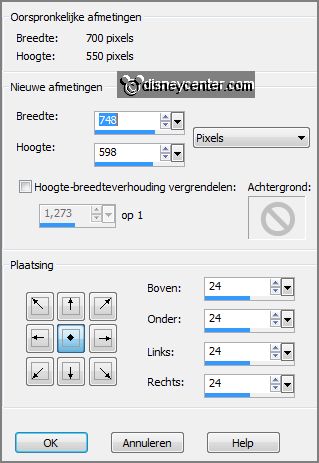
Activate the magic wand - with setting below - and select the transparent
border.

Set in the layer palette the foreground back to color white.
27.
Fill the selection with white.
Selections - modify - contract 2 pixels.
Fill this selection with this color #34709b.
28.
Effects - plug-ins - Graphics Plus - Cross Shadow - with this setting - click OK.

Effects - plug-ins - L & K Landsiteofwonders - L & K's Zitah - with this setting -
click OK.

Selections - select none.
Effects - Edge effects - enhance.
29.
The bottom layer is still selected, if it is right.
Edit - copy merged.
Open Animation Shop - paste as a new animation.
30.
Back in PSP.
Lock raster 2 and open copy of raster 2.
Edit - copy merged.
In AS - paste after active frame.
31.
Back in PSP..
Lock copy of raster 2 and open copy(2) of raster 2.
Edit - copy merged.
In AS - paste after active frame, be sure the last frame is selected
32.
File - save as - give name - click 3 times at next and than at finish.
Ready is the tag
I hope you like this tutorial.
greetings Emmy
Tested by Nelly
